 Simon Prickett

Node.js (a server side JavaScript runtime) is a popular choice for writing software on the Raspberry Pi single board computers that run Raspbian (a variant of Debian Linux). Developers often need to have their project’s code start when the operating system boots and stop when it shuts down. Some projects may not be able to run successfully if started too early in the boot process, for example prior to a network connection being established. In this article we’ll look at how to use the Linux System and Service Manager systemd to start a Node.js project automatically at boot.
We’ll use a Raspberry Pi 3 with a fresh install of the latest Raspbian “Stretch” Lite operating system and a wireless network connection already configured. If you want to follow along, you can download Raspberry Pi OS and use Etcher to install it onto your micro SD card.
Your support helps to fund future projects!
Installing Node.js
The “Lite” Raspbian doesn’t have Node.js pre-installed, as it is a minimal distribution. Let’s add an up to date version of Node.js from NodeSource:
$ curl -sL https://deb.nodesource.com/setup_10.x|sudo -E bash -
This will add a Node.js 10.x repo and update the package list. Once completed, we can then install Node.js (which also includes the npm package manager):
$ sudo apt-get install -y nodejs
We should now have an up to date Node.js and npm:
$ node --version
v10.6.0
$ npm --version
6.1.0
Let’s also check where Node.js was installed to as we’ll need this information later:
$ which node
/usr/bin/node
A Basic Node.js Project
Having installed Node.js it’s time for some sort of project that we want to have run on system boot. Let’s use a basic web server that listens on a configurable port number. It should return the current UNIX timestamp and log its actions to standard out.
I’ve made appropriate code available in a GitHub repo (we’ll need to also install git to do this):
$ sudo apt-get install git
$ cd
$ git clone https://github.com/simonprickett/timestamp-service.git
$ cd timestamp-service
The code’s very simple and has no dependencies:
Start it up to test with:
$ export PORT=8000
$ npm start
Then get the Pi’s IP address on the local network:
$ hostname -I
192.168.1.12
Use a browser on another computer connected to the same network to browse to:
http://192.168.1.12:8000
(remember to substitute your Pi’s IP address in place of 192.168.1.12).
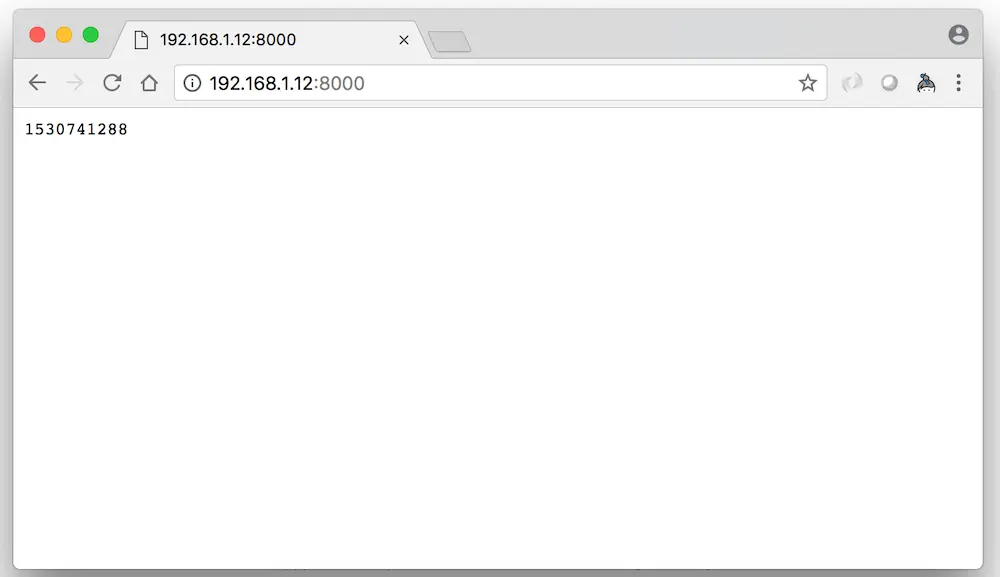
If the timestamp service is working, you should see a UNIX timestamp in the browser:
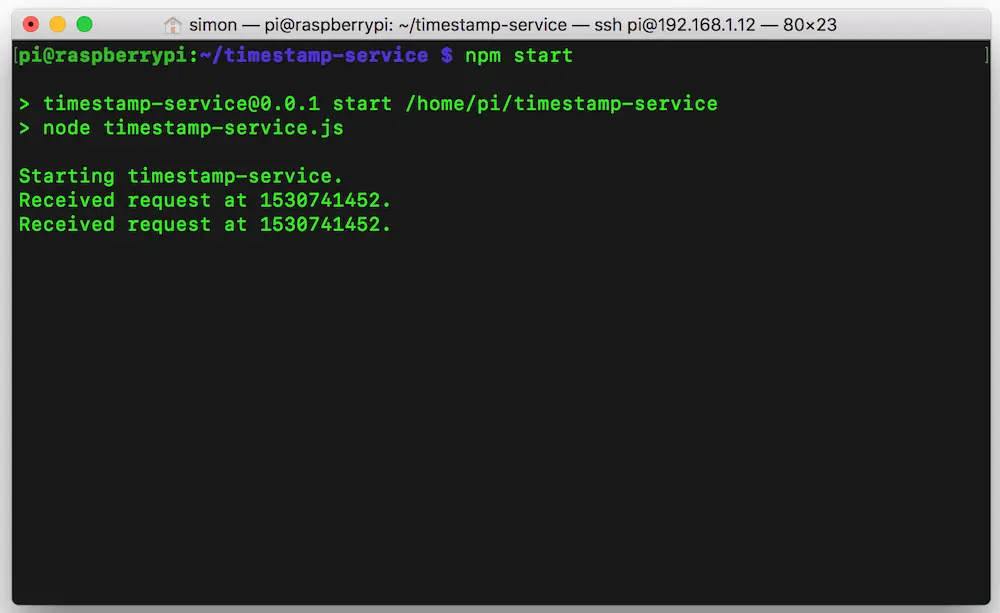
The service should also log to the console:
(Quiz question: The service logs twice every time the browser makes a request to it… why is that? — Answer at the bottom of this article)
Having got our project installed and running it’s time to make sure it starts up automatically with the operating system.
systemd Service Setup
To make our timestamp server start with the operating system, we need to create a systemd service file for it. This is where we define a name for it as well as other important information such as when to start it in the boot process and how to invoke it.
Installing the Service
Let’s call our service “timestamp”, and provide information about it in a file called timestamp.service:
What does this do?:
- Lines 1–3 give systemd a descriptive name for the service and tell it that it should only be started after the operating system’s networking functionality is up and running.
- Lines 5–10 describe how to start and run the service… Lines 6–7 tell systemd where to find the service’s implementation and to start it with “npm start” in that directory. Line 8 tells it to restart the service automatically should it fail unexpectedly at any point. Line 9 tells it to run as the “pi” user and line 10 sets an environment variable called “PORT” to 8000.
- Lines 12–13 tell systemd how to install our service, and roughly where in the operating system’s boot sequence to start it. In this case, we’ve specified that the service should be started when the operating system has booted as far as a multi user state (meaning the point at which users can establish terminal sessions with the operating system). So given that we also said to only start our service after “network.target”, we can expect it to start after networking is established and prior to the system going multi user.
This file is also included in the GitHub repo and should be copied to /etc/systemd/system (where the Pi’s operating system expects to find service definitions):
$ sudo cp timestamp.service /etc/systemd/system
Having done that we then need to enable the service so that systemd knows to start it on boot. systemctl will link our service file into a directory for services that are “wanted” by the multi-user target:
$ sudo systemctl enable timestamp.service
Created symlink /etc/systemd/system/multi-user.target.wants/timestamp.service → /etc/systemd/system/timestamp.service.
Starting the Service
Now we should be able to start the service manually:
$ sudo systemctl start timestamp.service
This won’t produce any output on the terminal, but we can verify that the service started by pointing a browser at port 8000 on the Pi’s IP address in the same way that we tested the service before. We should see a timestamp appear in the browser.
Viewing Service Logs
Instead of logging to standard out on the console, systemd is now managing our service’s logging. Logs can be viewed as follows:
$ journalctl -u timestamp
-- Logs begin at Thu 2016-11-03 10:16:43 PDT, end at Sat 2018-07-07 15:19:14 PDT
Jul 07 15:18:32 raspberrypi systemd[1]: Started Timestamp Service.
Jul 07 15:18:34 raspberrypi node[788]: Starting timestamp-service.
Jul 07 15:19:13 raspberrypi node[788]: Received request at 1531001953.
Jul 07 15:19:14 raspberrypi node[788]: Received request at 1531001954.
This contains a mixture of log entries from systemd regarding startup and shutdown of the service, and Node.js (the console.log statements in our timestamp-service.js file).
Stopping the Service
As you might expect, the service can be stopped with:
$ sudo systemctl stop timestamp
Again, this generates no console output, but we can verify that the service has stopped both by revisiting port 8000 with a browser (will refuse to connect as the service is no longer listening there), or by looking in the logs:
$ journalctl timestamp
...
Jul 07 15:31:56 raspberrypi systemd[1]: Stopping Timestamp Service...
Jul 07 15:31:56 raspberrypi systemd[1]: Stopped Timestamp Service.
Checking the Service Starts on Boot
Finally, let’s check that the operating system starts the service on boot up by rebooting the Pi:
$ sudo reboot
Connection to 192.168.1.12 closed by remote host.
Give the Pi a minute or two to reboot. Now we should be able to verify that the service came back up automatically by either logging in and looking at the log with journalctl, or by accessing port 8000 from a browser.
That concludes our brief introduction to starting your code on bootup with systemd and Raspberry Pi. If you want to learn more, here’s some useful resources:
- Raspberrypi.org systemd page
- Nodesource blog about Node.js systemd services
- Adafruit systemd tutorial (for Beaglebone boards but applies to Debian based Linux on various hardware)
I’d love to hear what you’re up to with the Raspberry Pi, Node.js or a combination of the two. I’ll try and write more as time allows.
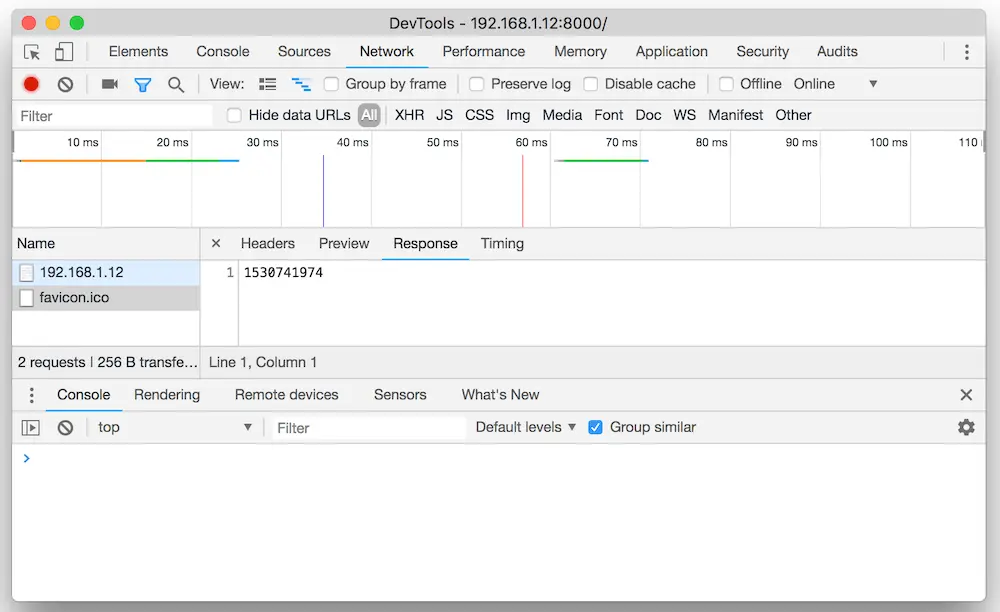
Quiz answer: The service logs twice because it responds to all requests sent to it. When the browser requests a page it also requests “favicon.ico” and our simple service responds to both requests with a UNIX timestamp. We can see this using the browser’s developer tools…
 Raspberry Pi Coding in Go: Traffic Lights