 Simon Prickett

Bloom filters are a probabilistic data structure that I’ve wanted to learn more about for a while. When I started reading up on them, I found a lot of the material to be quite dry and theoretical, so I thought I’d try and implement one in hardware somehow and make my own visual learning aid.
So what’s a Bloom filter? Wikipedia says:
A Bloom filter is a space-efficient probabilistic data structure, conceived by Burton Howard Bloom in 1970, that is used to test whether an element is a member of a set. False positive matches are possible, but false negatives are not – in other words, a query returns either “possibly in set” or “definitely not in set”.
Regular sets are great for checking membership - this operation is usually O(1) so remains efficient as the set’s cardinality (size) grows. However, the storage required to maintain the complete set will continue to grow indefinitely with the dataset. For some use cases, we can sacrifice some accuracy (and the ability to retrieve set members) in favor of saving memory or storage space, and this is where Bloom filters can be beneficial. If we’re storing the IDs of articles that a user’s already seen on our website in order to make recommendations that don’t include those articles, having absolute accuracy isn’t that important so we may choose to sacrifice that for efficiency of storage - accepting that sometimes we’ll recommend an article they’ve already read.
A Bloom filter can be implemented as an array of bits, using a fixed amount of memory. When adding members to a set, these members are run through a number of hash functions to represent them as bit positions in the array. The actual member data is never stored, so we can’t list out all the members in the set stored in the Bloom filter, but we can check for membership.
Your support helps to fund future projects!
Checking if something is in a Bloom filter involves running it through the same hash functions to see what the value of each bit in the array is. If all of the hash functions resolve to bits that are set, we can say that the member may be in the Bloom filter. We can’t say with absolute certainty as there’s a possibility that hash collisions will cause multiple members to hash to the same array positions. In many Bloom filter implementations, the likelihood of a clash can be tuned by varying the size of the bit array and the number of hash functions. If one or more hash returns an array position that’s unset, we know with certainty that the member is not in the Bloom filter.
While researching this topic, I found a really good interactive Bloom filter demonstration that is very visual in nature. Check it out here. When writing my code, I found Guy Royse’s JavaScript example implementation very handy, as well as this GeeksforGeeks article for Python.
Before running you through how it all works, here’s a video demonstration of the finished product…
Stuff You Need to Make One
All of the software’s free, but you will need to buy a Raspberry Pi of some sort, a Unicorn Hat and ideally a case that can diffuse the LEDs as they are super bright (in the video demo I have them set to 19% brightness which is as low as they can go and still be visible with the colors I’m using).
- Flask (API framework).
- Murmur3 hashing (for hash functions).
- Bulma (front end CSS).
- Pimoroni Unicorn Hat library for Python.
- Pimoroni Unicorn Hat - there is also a more expensive HD version with more pixels if you want a bigger array for your filter!
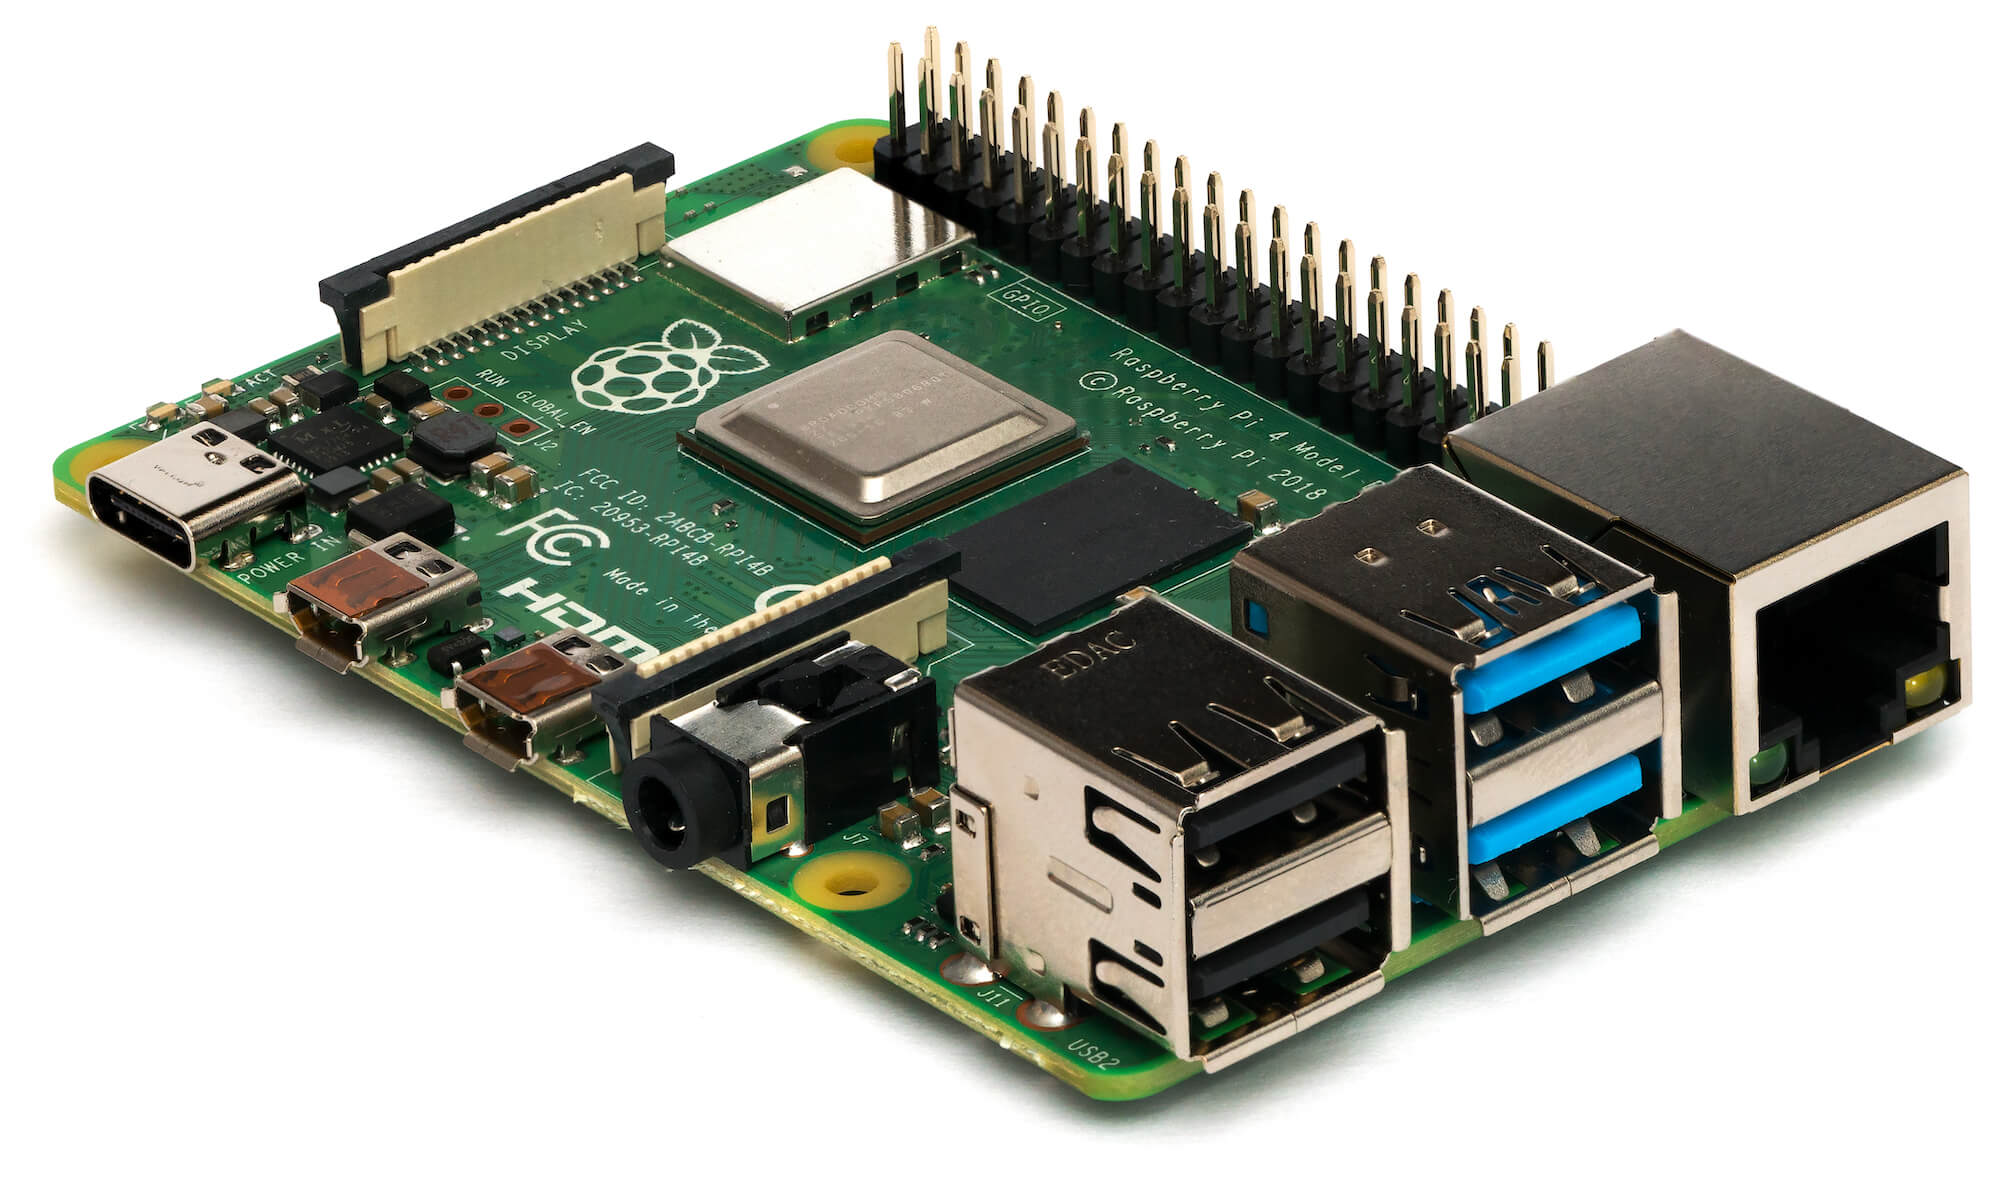
- Raspberry Pi Model A+ v1 (any 40 pin GPIO Pi that can take HAT boards will work, which is most of them - the model I used is long obsolete I just had one kicking around).
- USB wifi dongle for Raspberry Pi (The model A I used doesn’t come with built in wifi - other models have this onboard - find these USB dongle on Amazon or eBay just make sure to get one that is known to work with the Pi / Raspberry Pi OS).
- Adafruit Smoked Plastic Pi case - get the separate smoked lid too as this is what acts as a nice LED diffuser. This is the case for A sized Pi models, they also sell them for the larger Pi models.
Hardware Build
The hardware build for this project is pretty simple, with no soldering required! The Unicorn Hat comes ready built from Pimoroni and looks like this:

Simply press this onto the GPIO pins on any 40 pin Raspberry Pi model, and you’re done. Then it’s simply a matter of plugging in a power supply and setting up the operating system. As I used a model A with limited processor power, I went with the Lite version of the operating system as I didn’t need a graphical desktop. There are some great tutorials on setting up a Pi in a headless configuration so that you can SSH into it, and that’s what I did. If you need help doing this, I recommend the tutorial here.
If you’re using an Adafruit case like the one I got, the Pi simply snaps in there - it’s probably a good idea to put it in the case before attaching the Unicorn Hat, as this will make things a bit harder with aligning the Pi and the case.
The only other accessory I had to add because I was using an older Model A Pi was the USB wifi adapter, which simply plugs in like any other USB accessory. If you’re using a newer model Pi you won’t need this as they come with wifi built in, which is a good thing!
Software - Flask Server Application / API
The Flask application code is all in app.py, and exposes an API with these endpoints:
POST /api/add/<element>- add an element to the Bloom filter. Always returns a 201 response.GET /api/exists/<element>- returnsTrueif the element might be in the Bloom filter (remember we can’t be sure) orFalseif it isn’t (we can be sure of this).POST /api/reset- removes all elements from the Bloom filter and starts a fresh one.
The application also has a route GET / that serves the front end as a static HTML / JavaScript / CSS page.
Here’s a quick walkthrough of the code that implements the Bloom filter logic:
I start off by defining some constants, initializing Flask and configuring the Unicorn hat so that LED 0, 0 is in the top left hand corner according to the way I have the Raspberry Pi oriented… I then get the size of the Unicorn Hat (Pimoroni make other models that have different sizes and I wanted to make the code pretty generic). The Unicorn Hat has a really easy to use Python library with great docs here that cover the functions I’m calling in my code.
The utility function get_led_position translates a number into its equivalent row and column position on the LED matrix for the Unicorn Hat. So, 10 for example would be row 1, column 1 for an 8 x 8 Unicorn Hat where the rows and columns are both 0 - 7 inclusive.
Function toggle_leds accepts a list of LED positions, and two RGB color tuples. One of these, transition_color is used as an interim color to show which LED is toggling. The other, new_color is the color that each LED will be left showing when the function finishes. This function gets the current color for each LED, then toggles between that and transition_color as many times as NUM_TRANSITIONS specifies, then sets each LED to the color specified in new_color. This is used to provide a visual effect around setting and querying bits in the Bloom filter.
Function query_led_status uses get_led_position to work out the position of the LED to query, then toggles it for visual effect, before checking whether or not the LED was off (RGB 000) or on (RGB anything other than 000). Returns True if the LED was on (representing the bit in the Bloom filter being set) or False if the LED was off (representing the bit in the Bloom filter being unset).
Function set_led_status takes a list of LED numbers, works out the position of each on the Unicorn Hat, adding that to a new list led_positions. The LED at each position in the list is then turned on using the toggle_leds function for visual effect. This is set individual bits in the Bloom filter.
Function add_to_filter adds the supplied element to the Bloom filter. It does this by running element through NUM_HASH_FUNCTIONS hash functions that come from Murmur3. The result of each hash is modded by the number of LEDs in the Unicorn hat to give a LED number representing that hash result. These results are stored in a list that is passed to set_led_status to change the status of the corresponding LEDs.
Function exists_in_filter runs the value in element through the hash functions, checking if the LED associated with the hash from each is on or off. It does this by using the query_led_status function. As soon as one is found to be off (unset in the Bloom filter) the function returns False. If all LEDs that element hashes to are on, the function returns True.
Function reset_filter flashes all of the LEDs on and off twice, then turns them all off. As the state of each LED is used to represent a bit in the Bloom filter, this clears the filter.
The rest of the code defines API routes that Flask uses, and calls the appropriate function to process each route. In the case of /, I simply respond with the homepage.html template to serve the front end.
Software - Front End, JavaScript / Bulma
The front end is a single HTML page (templates/homepage.html) that works together with a single JavaScript file static/app.js.
The vast majority of the styling comes from Bulma (static/bulma.min.css) with a tiny bit of link styling in static/app.css.
Here’s how it all works, focusing on the JavaScript:
- The application runs on the
window.onloadevent. - Click handlers are added to each of the Add, Exists and Reset buttons.
- The click handlers for Add and Exists, use the same function:
buttonClicked, but pass different parameters to it. - The function
buttonClickedchecks that text was entered in the text input, and which button was pressed (Add or Exists). If text was entered, it then callscallBloomFilterto handle interaction with the Flask backend via the API. - The function
callBloomFiltercalls the appropriate API endpoint using the Fetch API to either add an element to the Bloom filter, or check if the Bloom filter things an element exists. It updates the page with the result of this operation, and clears the text input field. - The Reset button click handler clears out any text in the input text box, makes a
POSTrequest to the Flask Application’sresetendpoint and displays a success or error message depending on the status code returned by the API. - The utliity function
displayErrorCallingBackendMessageis used to display any errors from failed API calls. - The utility function
getResultis used to pull theresultobject from a Fetch API response. - All DOM element IDs referred to in the JavaScript can be found in
templates/homepage.html. - All CSS classes referred to in the HTML are defined in
static/bulma.min.css(easier to use the Bulma documentation) or instatic/app.cssfor one case where I wanted to override some link styling in Bulma.
Thanks!
I found this a really fun project to put together and really enjoyed making a hardware representation of a concept that’s normally pretty abstract and hidden away in software. I deliberately kept this pretty simple - the size of the array for the Bloom filter is limited to 64 because that’s how many LEDs are available, but one enhancement could be to configure the reset API endpoint to take a number, and use that many hash functions rather than the fixed three I used. It might be cool to use some sort of rotary encoder with the Pi to literally dial in the number of hash functions too :)
I’ve subsequently revisited this project, and made a version that is (somewhat) Redis protocol compatible, so that you can connect to it with the Redis CLI or any other Redis client, and incorporate it in your application code! Read about that here.
Thanks for reading, hope you also found this fun. Feel free to tell me if I got anything wrong or could improve on it! I’ve put my code into a GitHub repository that you’re free to use to build your own, or modify to do something else.
Pimoroni also make a Unicorn Hat HD with 256 LEDs. If you’d like to see me try with one of those you can always buy me a coffee and I’ll put the proceeds towards buying one! If you’ve got a Raspberry Pi Zero and want to go small, there’s also a Unicorn pHAT.
 Visiting the Salton Sea