I grew up in Nottingham, England in the 1980s-90s. At the time this was the home of the Raleigh bicycles HQ and factory, so almost everyone rode a Raleigh. They were solid bikes, and everybody had a relative who worked for the company or knew someone who did. I had a Raleigh Commando, then an Ultra Burner BMX before swapping to the Raleigh Équipe 12 speed road bike. At that time, I had a regular cycle route of around 16 miles through a few local villages and I would ride with a friend. He had a Peugeot road bike with Reynolds 501 tubing and indexed gears. This was something totally different for me, and I always fancied getting one myself but it never happened.
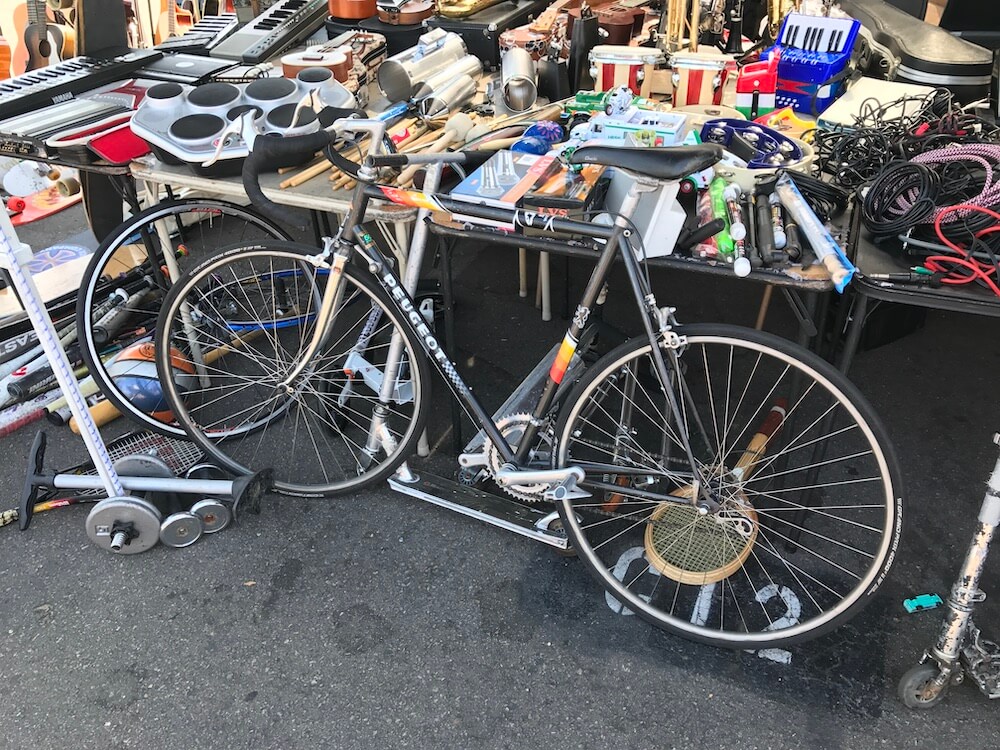
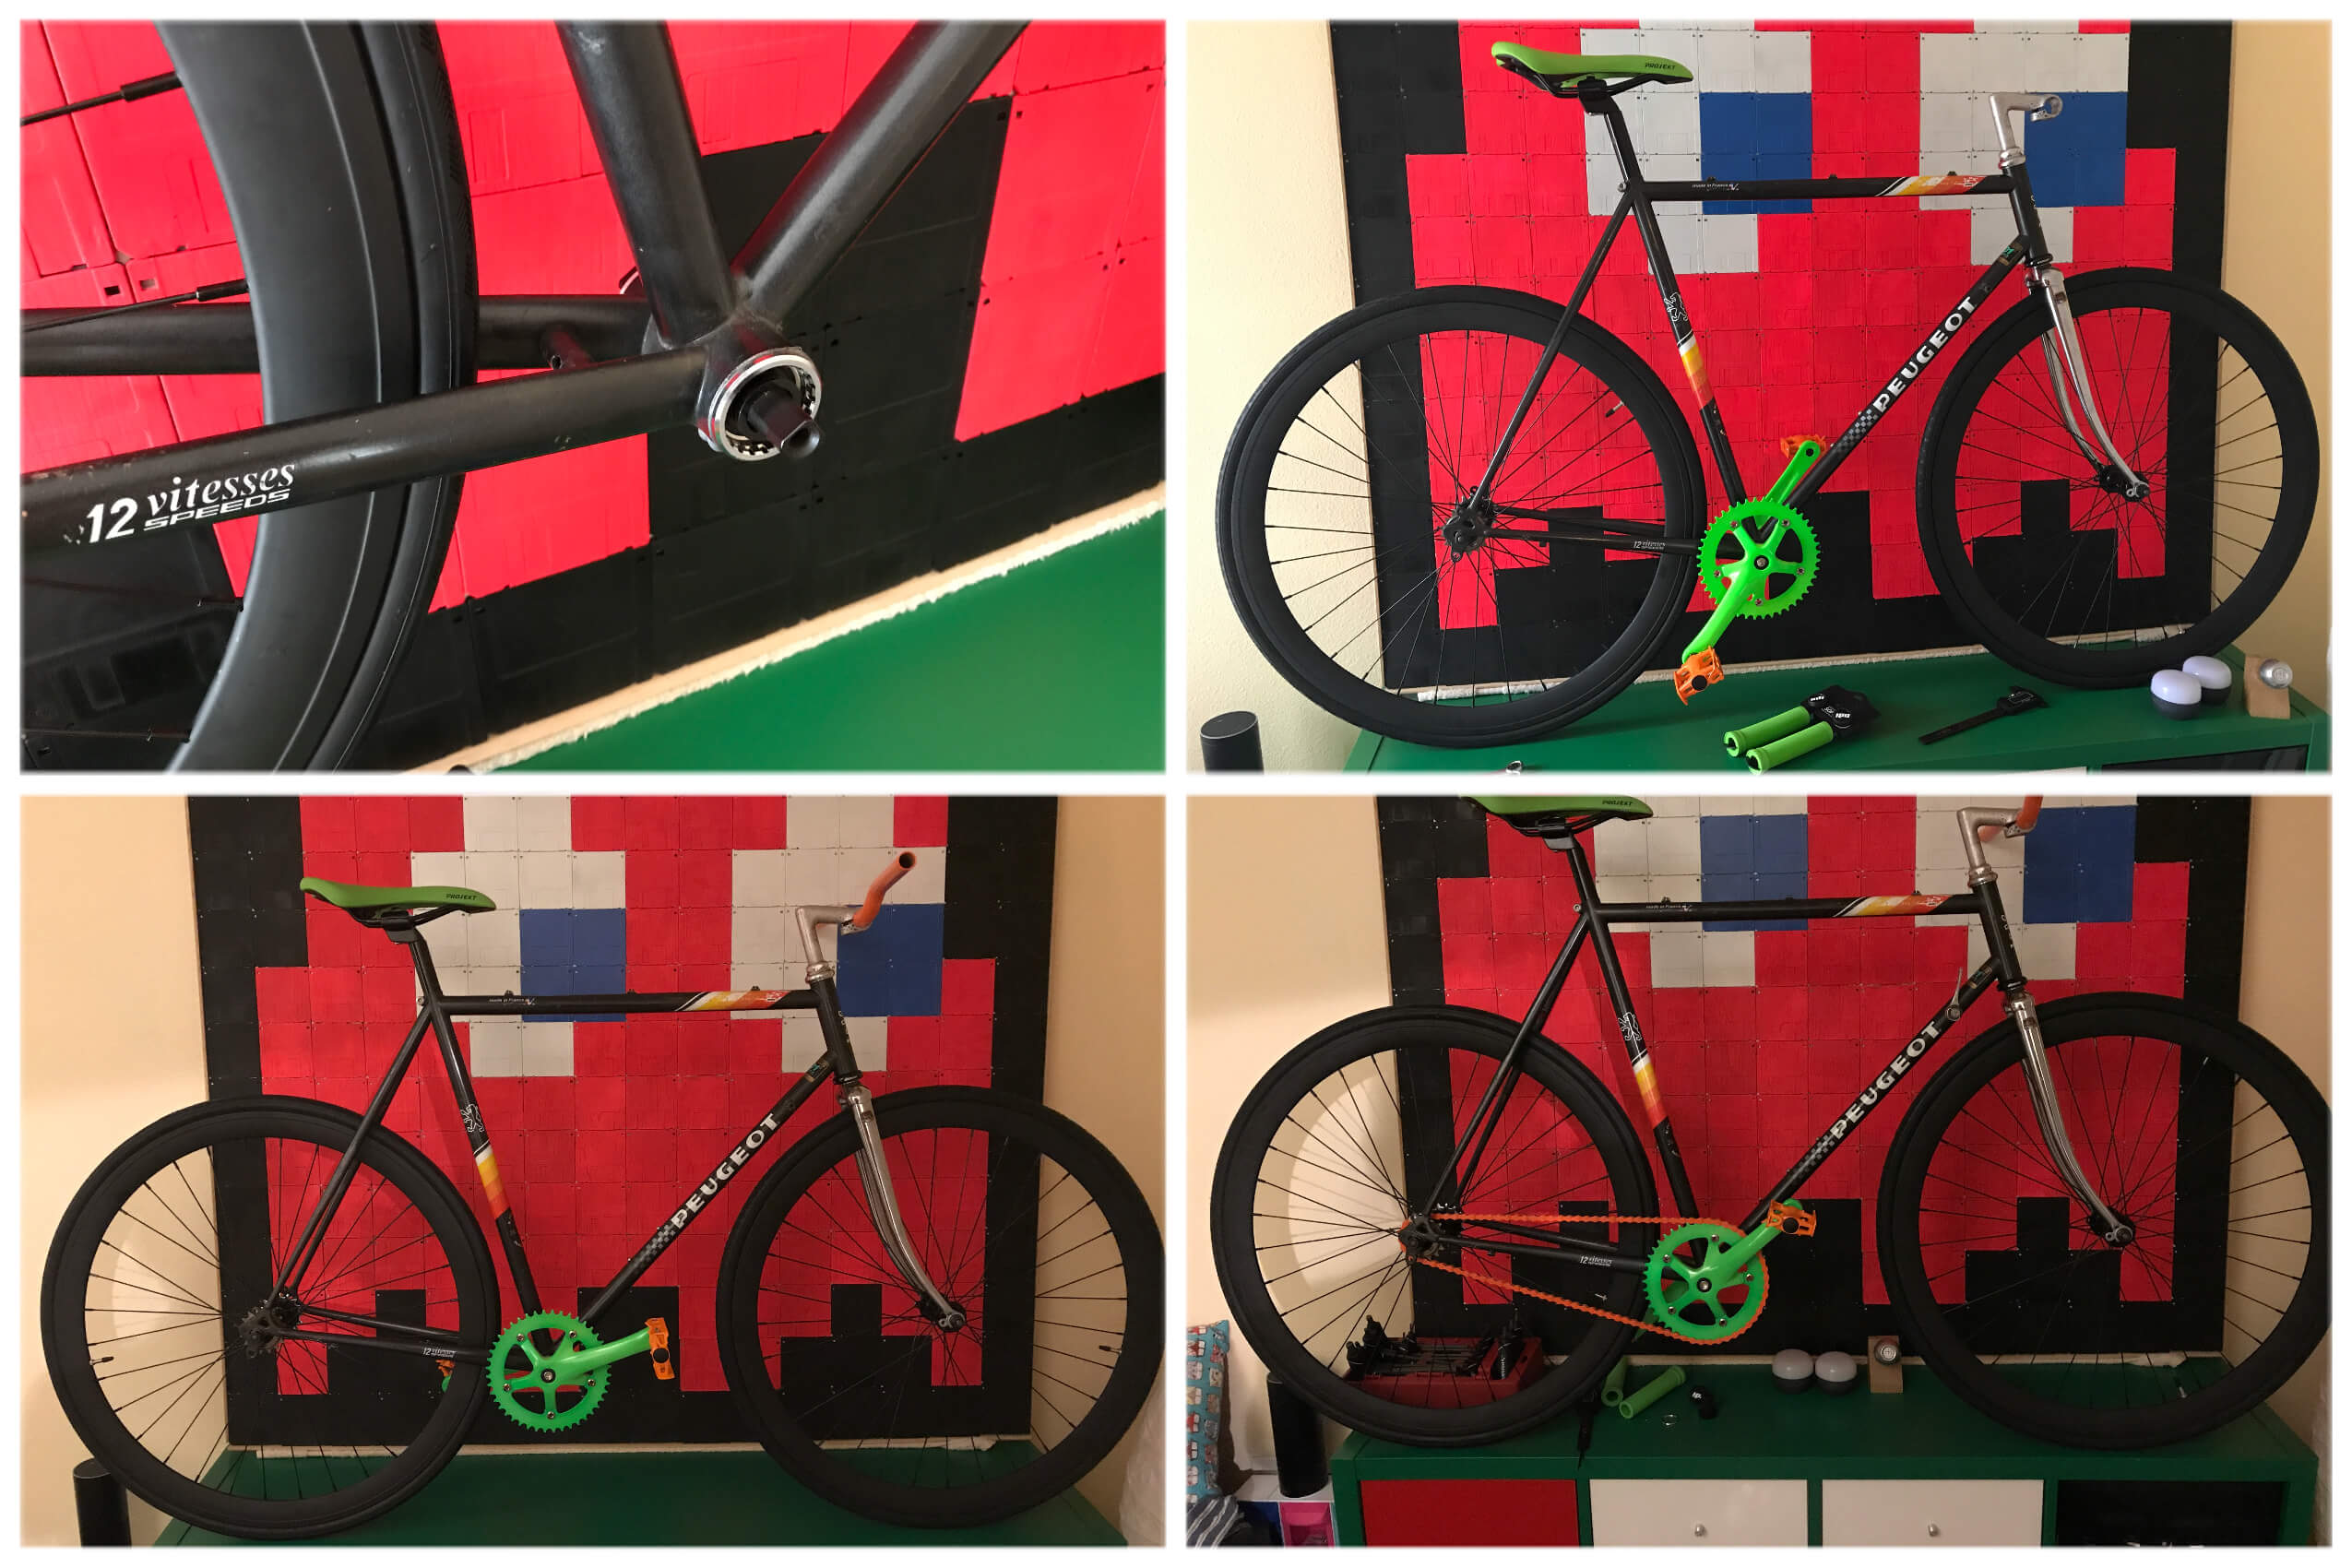
Fast forward some 28 or so years and I found myself walking around a flea market near home in San Diego when I came across… an 80s Peugeot road bike in the right colour scheme, and with the 501 tubing. The frame size wasn’t perfect - a little small, but I could definitely ride it comfortably enough. I initially thought “oh that’s cool, I always wanted one of those” and within an hour or so having walked around some more, I’d returned to take another look, haggle a bit and hand over some cash. So, I’d sort of impulse bought another bike (I already had and still own a very nice Specialized cyclocross bike). Here’s what it looked like when I first saw it:
Thankfully, my car’s got plenty of room for carrying random large items so I got my purchase home no problem. While walking around the flea market convincing myself to buy it, I’d decided that if I did I’d use it to learn a bit about bike building by converting it to a single speed drivetrain with upright handlebars and modern wheels and brakes. This meant it would become a pretty major project as in addition to the tooling to get it in pieces and re-assembled, I was going to need to buy new:
- Wheels (it didn’t have modern 700c wheels)
- Tyres
- Inner tubes
- Single speed rear cog
- Bottom bracket
- Crankset
- Pedals
- Toeclips
- Chain
- Handlebars
- Handlebar grips
- Brake levers and cabling
- Brake calipers / pads (to accommodate the new standard size wheels)
- Seat post (to go a bit higher to make it more comfortable for me to ride)
- Saddle
What I had planned to retain from the original bike was the frame, fork and headset.
Your support helps to fund future projects!
Everything else was to be stripped off and replaced. I convinced myself of this plan by reminding myself that this would also potentially give me a stock of vintage road bike parts to sell off and recoup some of my costs… provided I was careful with dismantling it!
Disassembly
Taking things apart is usually the easy part of any project! I soon realized that the tyres and inner tubes were old, brittle and had been patched a few times - no problem as I didn’t plan on reusing them. I removed those and sold the original wheels on Craigslist.
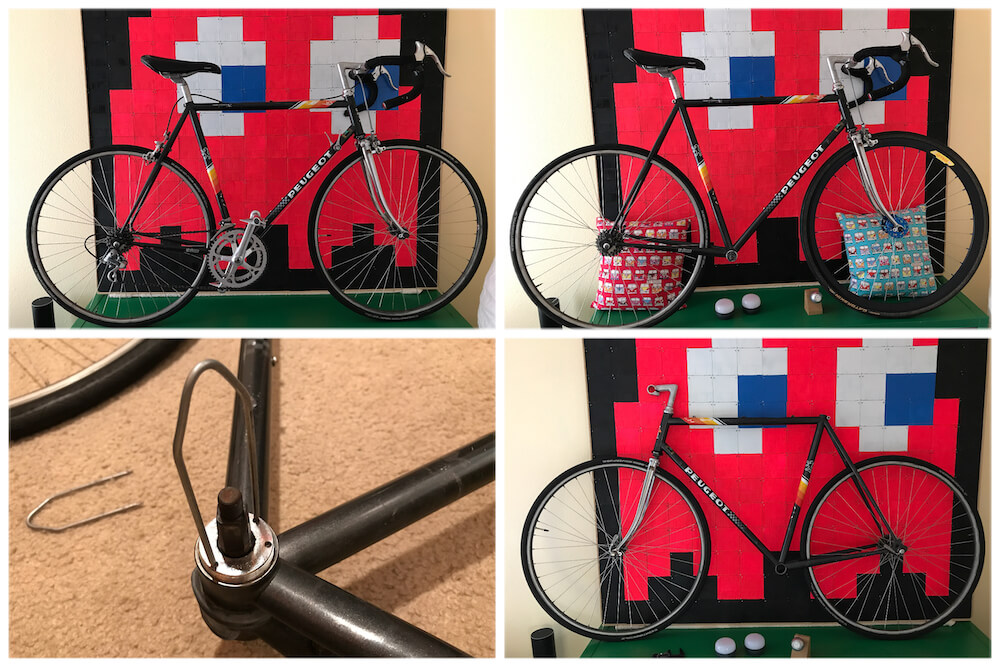
Getting the handlebars, brakes and gear system removed was fairly easy and didn’t require specialist tools. I had to remove the bar tape to get the handlebars off, but it was old and dried up and didn’t leave much of a mess. I cleaned up the handlebars and sold those on too.
I already owned a pedal wrench, required for removing the pedals. They were pretty much seized but came off easily enough after some WD-40 and brute force. Again I cleaned these up a bit and sold them off, I think on eBay this time.
I threw out the original chain, crankset and derailleurs as I couldn’t find a buyer for them and the chain was very worn anyway.
The toughest part of disassembly was getting the old bottom bracket out. This did require me to buy specialist crank puller and bottom bracket tools. I got mine from REI and chose the popular Park Tool brand, as I already had their pedal wrench and it had worked well for me. The cranks came off again with some brute force and WD-40, and the loose bearing bottom bracket came out after a bit of a fight. I threw these out as they were old and the bottom braket probably wasn’t going to survive being reinstalled somewhere else.
I removed some contemporary stickers from the frame and found that one was hiding a small dent in the top bar. Not a big deal, and it definitely doesn’t compromise frame strength.
Having completely stripped the bike down to just the frame, headset and forks, I decided to re-attach the frame mounted gear shifters for show, and because taking them off left ugly attachments on the frame where they should mount. I am really pleased I chose to leave them on as I enjoy seeing them there :)
Sourcing Parts and Tools
While I was disassembling the bike over a few weekends, I was also engaged in a parallel process of sourcing replacement parts and some additional tools. Using a combination of eBay, Amazon and REI I got the following delivered:
- Shimano bottom bracket
- Shimano brake cables
- Pedro’s brake cable cutter tool
- Generic chain breaker tool for adjusting chain length
- Tektro brakes and brake levers
- ODI BMX handlebar grips
- Riser handlebars
- Pedals
- Toeclips
- Seat post
- Projekt Saddle
- Water bottle cage
- Crank arms
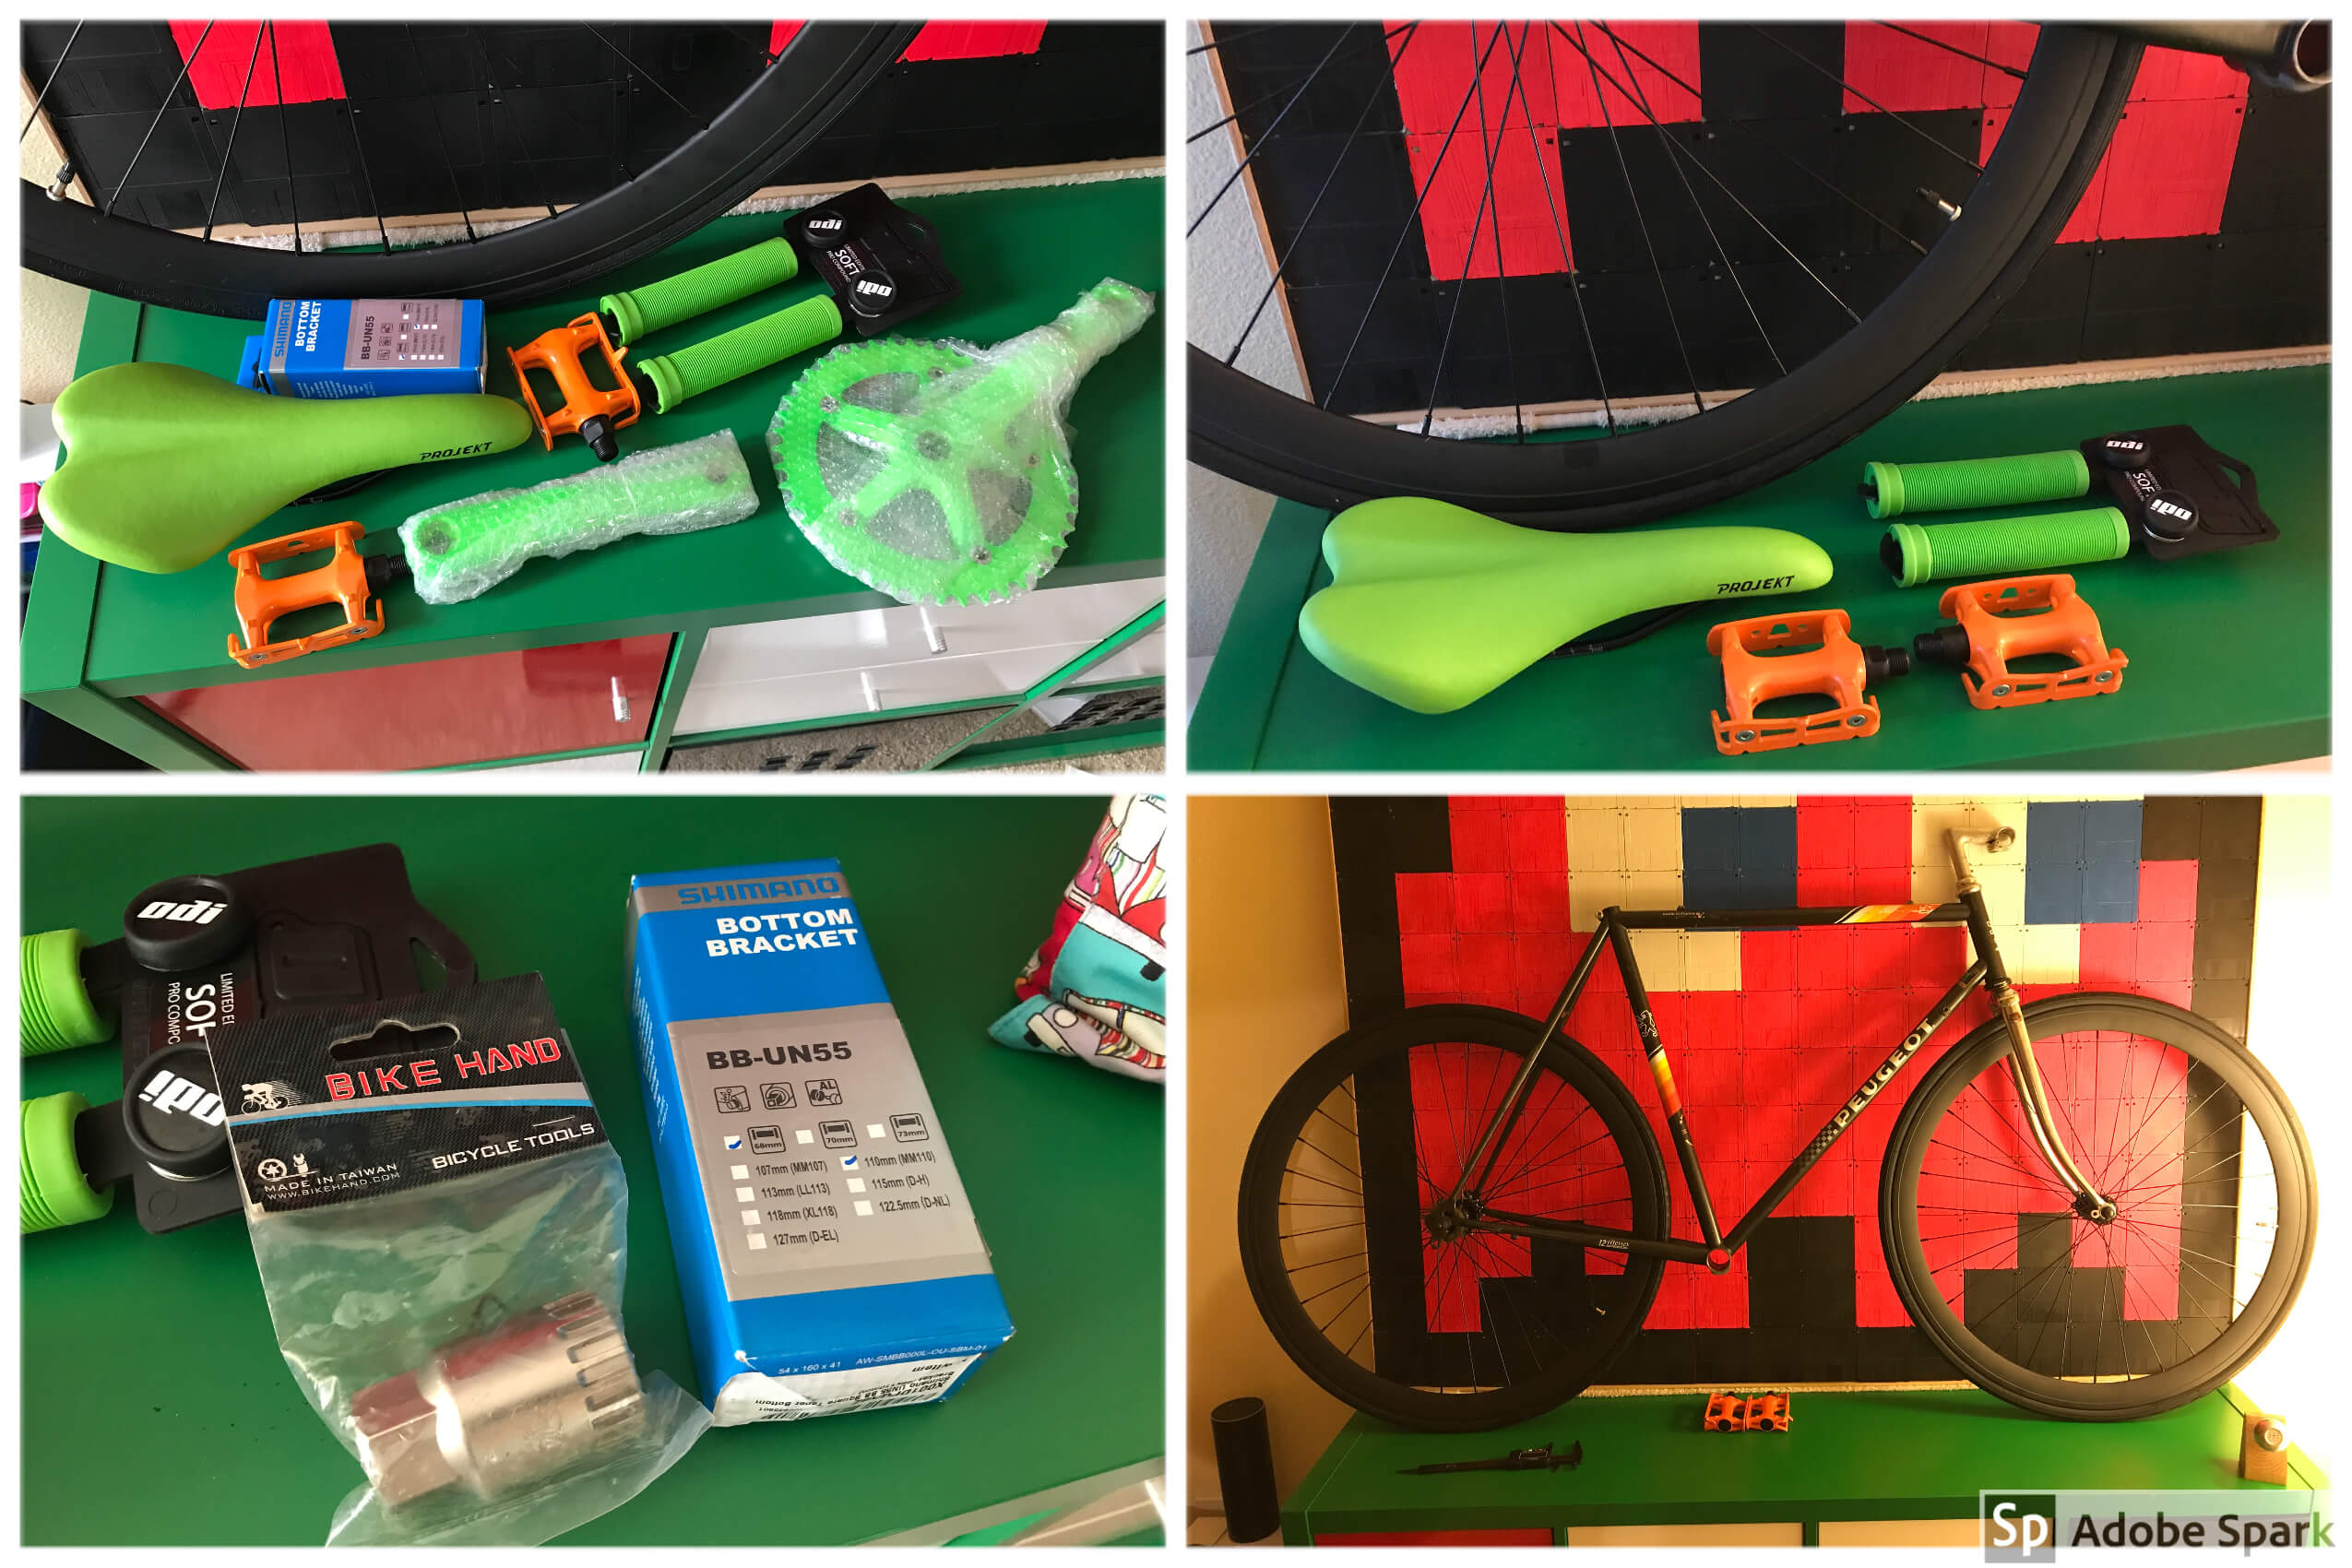
I found a deal on a complete fixie / single speed wheelset with tyres, tubes and a cog already made up from the City Grounds bike store in Long Beach. This was local enough that I drove up there to collect a set and have an afternoon out. It also saved me from having to buy the tool to attach the cog or figuring out how to do that.
I decided to go black with the wheels, and a mix of bright green and orange for everything else… not quite to everyone’s taste perhaps but works for me!
Putting it Back Together
Attaching the new wheels was easy as they came pre built, with the tyres on and the cog attached :) The handlebars went on easily, I used a trick I’d seen on YouTube and put some hand sanitizer on them to slide them into place then it all evaporates when rubbed away afterwards. I used that same trick to get the handlebar grips on too.
I faced some challenges with finding out what the correct chain tension should be, and making the chain the right length. I got all sorts of conflicting information from YouTube and in the end took what I thought was a good average and have a little vertical play in the chain and it hasn’t slipped to date. Getting the cog to line up with the cranks was surprisingly easy, and using the chain tool to get the chain just right was a little frustrating without an extra pair of hands, but I got there in the end.
For me, adding the new brakes was the most complex job - I’d never installed bike brakes before, and again YouTube provided a lot of help but some conflicting information. I got one installed no problem, then while installing the second I dropped the special square nut that holds the cable onto the caliper and couldn’t find it anywhere. I actually rode the “finished” bike around with one brake for a while before realising I wasn’t going to find the nut and needed to do something about it. I got in touch with Tektro’s customer service who were excellent and sold me a couple of spares cheaply. I got the second brake installed at the second time of asking and that completed the rebuild.
Riding!
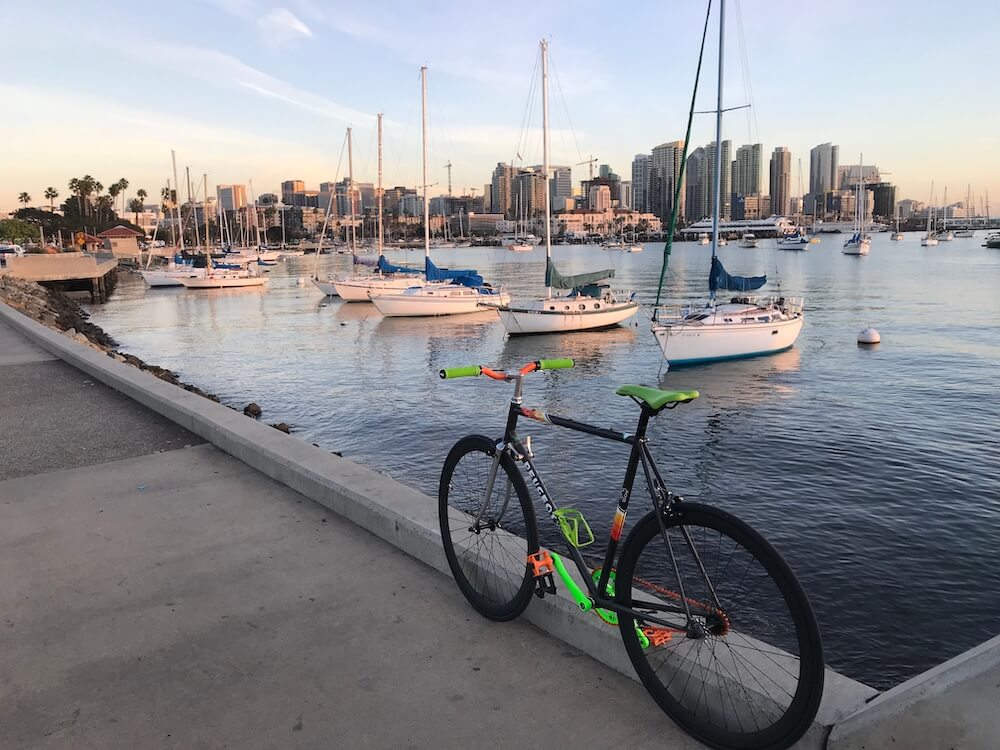
The rebuilt bike has and continues to be a lot of fun to ride. The constraint of only having a single gear hasn’t been an issue at all. Other than a crank arm coming loose after the first few rides, nothing’s fallen apart! I ride in San Diego mostly around the flat waterfront, Harbor Island, Shelter Island and Liberty Station areas, and the bike goes at the speed it wants to go and there’s not a lot you can do about it. This is nice as it means you don’t have much to think about and can just enjoy the scenery :)
The frame’s nowhere near as rigid as my modern Specialized cyclocross, which is aluminium with a carbon fork. But, for its age it rides well and doesn’t feel harsh. The headset works a bit loose and periodically needs tightening but I know to keep an eye on that. The completely new drivetrain is really smooth as you’d expect, the cheap wheels are a bit on the heavy side but OK (and I don’t go climbing with it, so the weight isn’t too much of an issue). Modern Tektro brakes work well, it’s plenty easy to lock up the rear wheel and skid - which is good, because the tyres that came with the wheels are pretty poor in my opinion so wearing through them is a bonus. It may be that I’ve been used to riding on Continental Gatorskins with very hard sidewalls for a while (I put these on all my bikes when it’s time for tyres), but it feels like these are soft and wobbly a bit in corners no matter how much I inflate them. I’ll swap them when they’re properly worn out, but they’ve definitely been the weak link out of the new components.
Do I enjoy riding it? Yes, loads! I also like that I can chain it up with a single lock and not worry about it, as it doesn’t look like much and it doesn’t have any quick release (a.k.a. easy to steal) parts. It’s been almost 2 years since I got this bike and converted it to single speed, and Strava says that in that time it’s covered 850km or 528 miles. A friend used it while visiting from England too. I take it out for probably just over half of my rides, as most involve going to a coffee shop or parking up and walking around a bit. I also still love my Specialized cyclocross which I mostly now use for longer point to point riding.
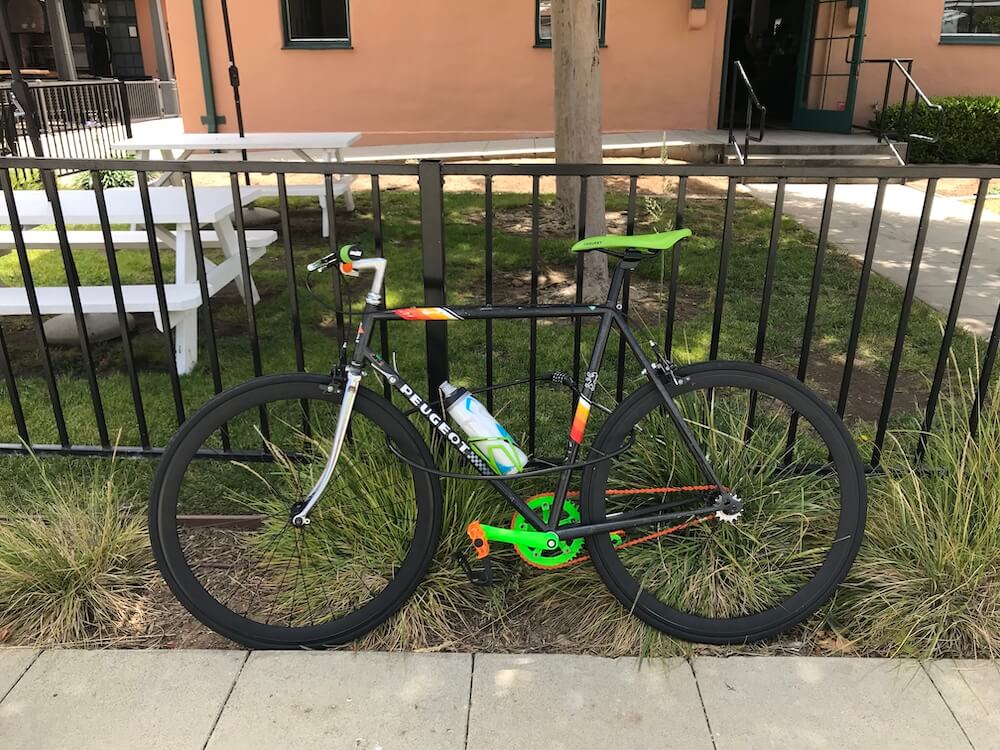
I also like riding something that’s unique and of my own making - using lots of garish colourful parts probably isn’t everyone’s taste, but it means I’m highly visible while out and about, and won’t lose the bike in a crowded rack :) I also like that I left the original gear shifters on. In building this bike I learned a few things about bottom brackets and chain tension for single speed drivetrains, as well as how to set up brakes. This knowledge has come in handy with subsequent maintenance on both of my bikes and may have saved a few dollars at the bike shop.
I continue to enjoy the bike, and other than swapping the tyres and perhaps getting some wider riser handlebars, I have no current plans to change it! I run it as a single speed, I’ve never flipped the rear wheel to fixie mode (yet!).
 Simon Prickett
 Raspberry Pi Coding in Swift: Traffic Lights