At Conectric we recently launched our new IoT Gateway product with an accompanying suite of wireless, battery powered sensors. In this article we’ll take a closer look at how to use our Switch sensor, Node.js SDK and the Twilio API to send SMS alerts whenever a door is opened.
(If you missed it, you may wish to read our first article that provides an overview of all the components in the system).
We also produced a video run through of how to set up the switch sensor with Twilio and our Node.js SDK. The video shows this with Mac OS, but the same process applies on Windows and Linux too (including Raspberry Pi with Raspbian OS):
Let’s look at how to quickly get setup and running…
Hardware
The complete system currently includes a USB router and the following types of sensor:
- Motion
- Switch (door)
- Temperature / humidity
In this example use case we’ll be using both the USB Router and Switch sensor.
USB Router

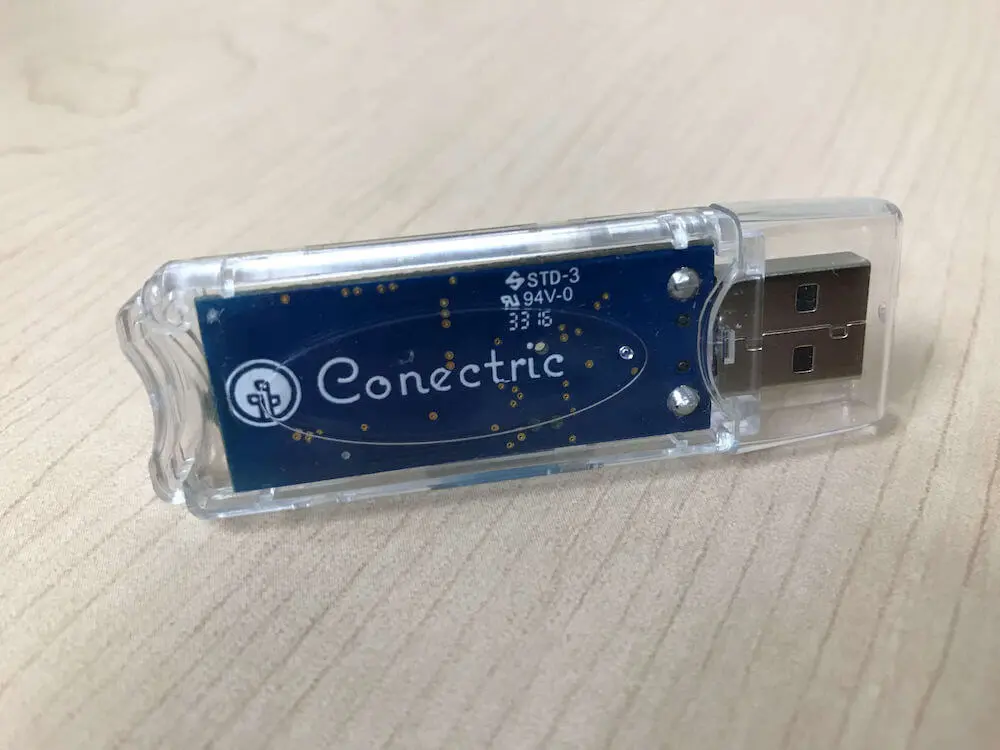
The USB router acts as the gateway to the Conectric mesh network, receiving messages from the sensors and working with the open source Node.js SDK to translate these into JavaScript objects that you can use in your application code. It connects to a regular USB port on any computer and does not require an external power source.
Your support helps to fund future projects!
Additional USB routers can be used to extend the mesh network’s range. These are powered from regular USB chargers and act as message repeaters. In this example, we’ll use a single router.
Switch Sensor

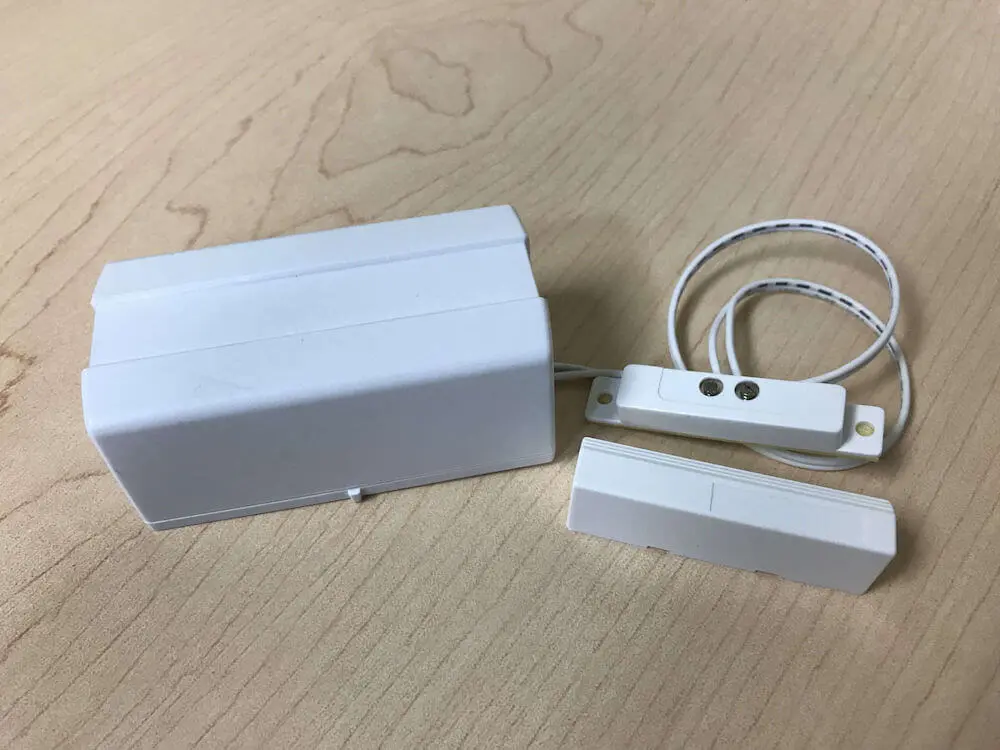
The switch sensor works by sending messages whenever its pair of magnets are moved apart from each other (door opened), or placed close to each other (door closed). It is battery powered and our testing indicates that the battery should last for years of normal usage.
The switch sensor can be installed with or without without the optional wired magnet, as the sensor enclosure also contains a second magnet. Additionally, the wired magnet can be replaced with one that can be embedded in a door frame with the entire sensor being hidden inside the frame.

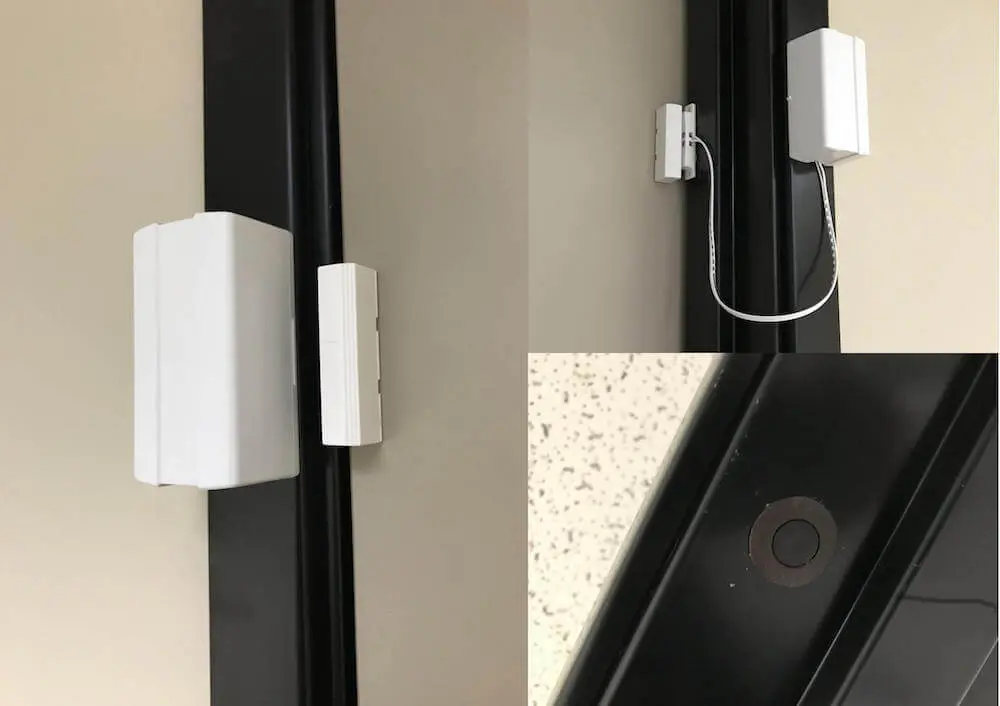
For this demonstration we’ll use a single switch sensor mounted to a door frame.
Software
There are two distinct pieces of software to configure here. We need to configure and use Twilio’s API to allow us to send SMS messages, then we’ll have to implement a callback function for the Conectric SDK to tell it how to handle “switch” messages received from the sensor.
Twilio Setup
Twilio is a wildly popular product that allows you to build software that sends data via voice calls, SMS and other cell phone channels. In this demonstration we’ll use their API for sending an SMS message which can be tested from a free trial account.
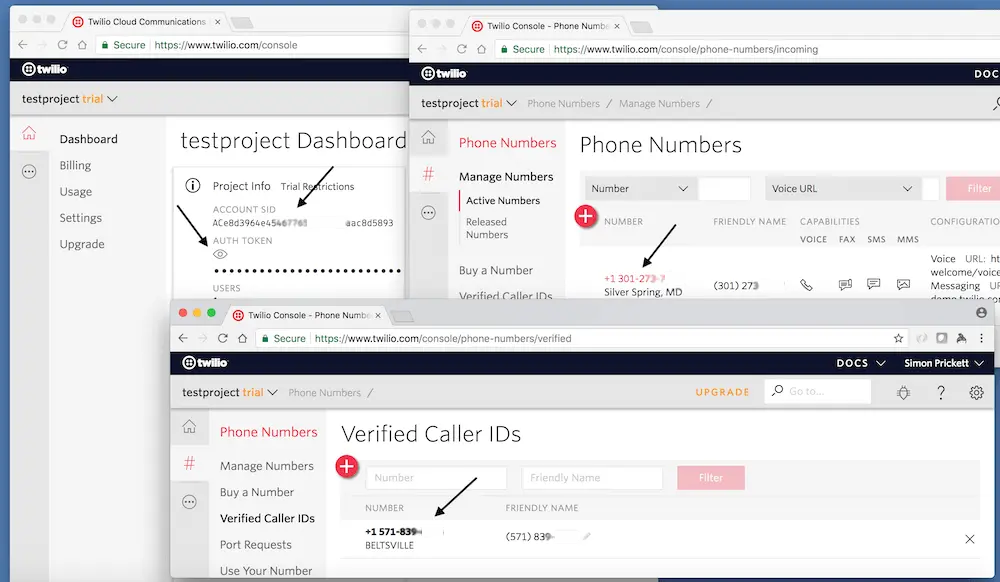
Twilio setup is as simple as creating a trial account with them, logging in and grabbing some information that we’ll need later from their developer portal.

From the Dashboard section, we’ll need to note:
- The Account SID.
- The Auth Token.
And in the Phone Numbers section:
- An active phone number that will be used as the sender number for the SMS messages.
- Set up a verified number that we can send SMS messages to (only required if using the evaluation period on Twilio — paid accounts can send messages to any number).
(If you’d like to see a step by step guide covering how to set up Twilio, we’ve provided one in the video accompanying this article).
Conectric SDK & Callback Function Implementation
Conectric’s SDK can be found on npm. To use it simply install as you would any other package:
npm install conectric-usb-gateway
For this example we’re also using Twilio, so let’s install the helper package to manage calls to their API from Node:
npm install twilio
The Conectric SDK works by allowing developers to provide their own onSensorMessage callback function when starting the gateway driver. This abstracts away the details of talking to the USB Router and mesh network thus freeing the developer to focus on application level logic instead.
Each time a message arrives the onSensorMessage callback is invoked and receives a JavaScript object containing message data. All messages have a type property — the switch sensor sends messages of type switch having the form below:
{
  "type": "switch",
  "payload": {
    "battery": 3,
    "switch": false
  },
  "timestamp": 1518757698977,
  "sensorId": "0219",
  "sequenceNumber": 0
}
Each message’s payload contains a switch key whose value tells us that the door was opened (true) or closed (false) and the sensor’s remaining battery voltage. Additionally it includes a UNIX timestamp for when the message was received, the ID of the sensor that sent it and the sequence number of the message from that sensor.
If your application logic would prefer to receive true when the door is closed and false when it opened, this behavior can be toggled through configuration in the SDK.
Complete example code for processing switch sensor messages and sending SMS messages via Twilio is included with the SDK. Let’s take a look at it and split it into two parts for ease of explanation:
The first part of the code is preamble that sets up what we need:
const gateway = require('conectric-usb-gateway');
const twilio = require('twilio');
const TWILIO_ACCOUNT_SID = process.env.TWILIO_ACCOUNT_SID;
const TWILIO_AUTH_TOKEN = process.env.TWILIO_AUTH_TOKEN;
const TWILIO_PHONE_NUMBER = process.env.TWILIO_PHONE_NUMBER;
const TWILIO_DESTINATION_PHONE_NUMBER = process.env.TWILIO_DESTINATION_PHONE_NUMBER;
if (! TWILIO_ACCOUNT_SID || ! TWILIO_AUTH_TOKEN ||
    ! TWILIO_PHONE_NUMBER || ! TWILIO_DESTINATION_PHONE_NUMBER) {
  console.error('Please set all of the following environment variables: TWILIO_ACCOUNT_SID, TWILIO_AUTH_TOKEN, TWILIO_PHONE_NUMBER, TWILIO_DESTINATION_PHONE_NUMBER');
  process.exit(1);
}
const twilioClient = new twilio(
  TWILIO_ACCOUNT_SID,
  TWILIO_AUTH_TOKEN
);
First, we require the Conectric SDK module and Twilio helper module. The Twilio API keys and phone numbers that were set up on the Twilio portal are read from environment variables, then the Twilio API client is instantiated.
The rest of the code starts the gateway and declares the callback function that is invoked each time a sensor message is received:
gateway.runGateway({
  onSensorMessage: (sensorMessage) => {
    if ((sensorMessage.type === 'switch') &&
        (sensorMessage.payload.switch === true)) {
      console.log(`Door opened, sending SMS message!`);
      twilioClient.messages.create({
        body: `Sensor ${sensorMessage.sensorId}: door opened!`,
        to: TWILIO_DESTINATION_PHONE_NUMBER,
        from: TWILIO_PHONE_NUMBER
      }).then((message) => {
        console.log(
          `Sent SMS via Twilio, message sid = ${message.sid}`
        );
      });
    }
  }
});
As the callback is invoked for all types of sensor message and we want only the switch messages, the code makes sure that the message type is switch. If the payload indicates that the switch was true (door was opened), then an SMS is sent using the Twilio API client.
The message sent to Twilio contains the sensor’s ID, so that the recipient knows which door was opened.
Demo Time!
We’ve now got everything we need to translate a door opening into an SMS message from Twilio… First set the environment variables. Next start the gateway script server.js:
export TWILIO_ACCOUNT_SID=DFwrrwe432...
export TWILIO_AUTH_TOKEN=123fTERgdf...
export TWILIO_PHONE_NUMBER=11234567890
export TWILIO_DESTINATION_PHONE_NUMBER=15678901234
npm start
Insert the Conectric router into an open USB port, insert the battery into the switch sensor, mount it on the door frame then open the door…
The sensor detects that the two magnets have moved away from each other and a message is sent over the mesh network to the USB router. The SDK invokes the callback function whose logic runs and posts a message to Twilio. Twilio then takes care of sending an SMS to the destination phone number.
As we can see it is very straightforward to integrate with the Conectric switch sensor and SDK, requiring minimal custom coding work. The Conectric SDK for Node.js is designed from the ground up to enable you to embed our scalable mesh network and reliable low maintenance sensors into your own product, platform or other solution.
All of our software including the example code referenced in this article ships under the terms of the MIT License allowing you to use it for your own purposes.
We’re really excited about the possibilities that this product opens up for developers and systems integrators alike. We hope that you are too!
 Simon Prickett

 Movement Alerts in Slack with Conectric's Motion Sensor & IoT Gateway for Node.js