 Simon Prickett
One of the things I find deeply dissatisfying about writing software for a living is that there’s no physical form to it. This often means it is difficult to explain what I have been working on to people outside the industry, especially when “my part” isn’t something they see or directly interact with in the finished product.
I’ve always found projects that incorporate some hardware elements more satisfying to work on than pure software — they just feel less “fraudulent”. As I don’t come across many of these in my day job, I like to tinker around with them on my own time which often involves taking things apart, cutting them and gluing and soldering them into different things. Often, these projects end up partly complete and abandoned as once I can see how I could build something, I figure I’ve solved the problem I set out to investigate then stop and move onto something else. Periodically, I actually see one of these projects through to a finished “product” and some of them even work out OK. Usually I end up building something with a Raspberry Pi, but this time I tried something with no software at all in it…
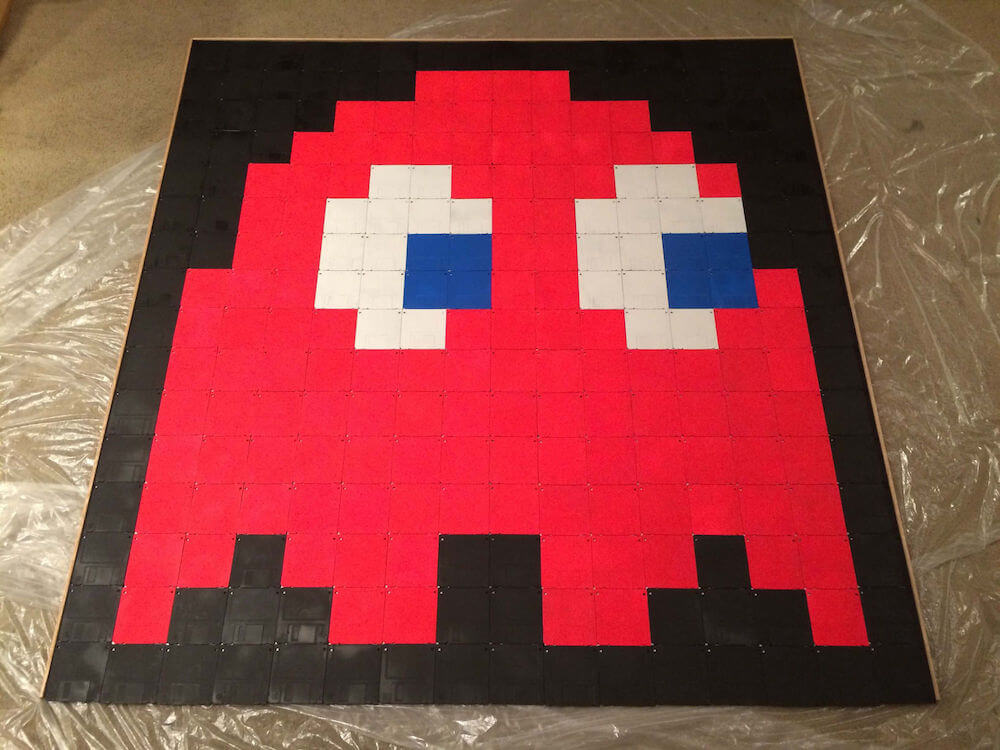
A while back I was looking for a mosaic type project to decorate my workspace (which also happens to be the apartment I live in — I look at these walls a LOT). I soon came across a French blog post describing a Pac-Man ghost project made from floppy disks. This looked ideal for covering up some of my boring wall space, so I decided to give it a go.
Getting hold of the required 256 3.5” floppy disks (remember those, from when we used to ship software on physical media?) turned out to be pretty easy and cheap thanks to eBay. I bought a box of new, but non-working black colored disks (all of which had duplication or read errors — kept the cost down as they were essentially junk).
Your support helps to fund future projects!
Buying “new” meant not having to remove labels from all the disks as they had never had these attached — I would imagine soaking labels off older disks in water would work but might take some time and get tedious pretty quickly.
As I tend to be better at buying things I need to undertake a project than I am at actually doing the project, the disks sat around for a while. Some of them eventually got used in a smaller Space Invader mosaic, again to break up large expanses of blank wall in my workspace.
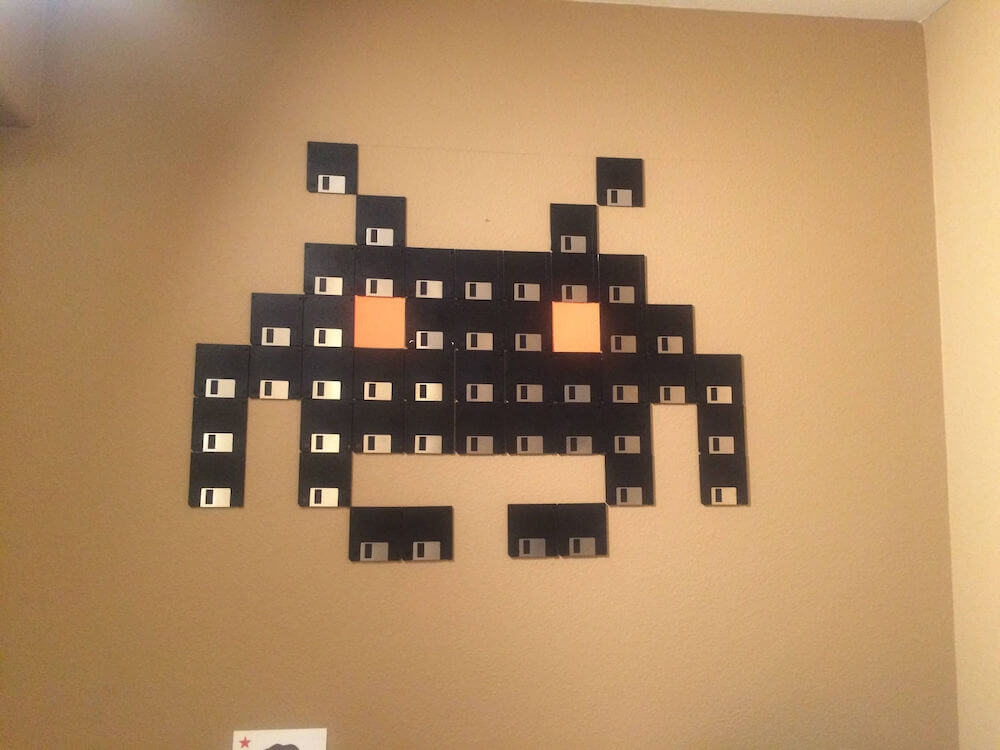
This was really quick and easy to make, I just used Blu-Tack to hold each disk to the wall and some colored card stock for the eyes.
However, building a Pac-Man ghost from the majority of them was still the plan, and that required painting of the disks and building a frame to hold them all together in.
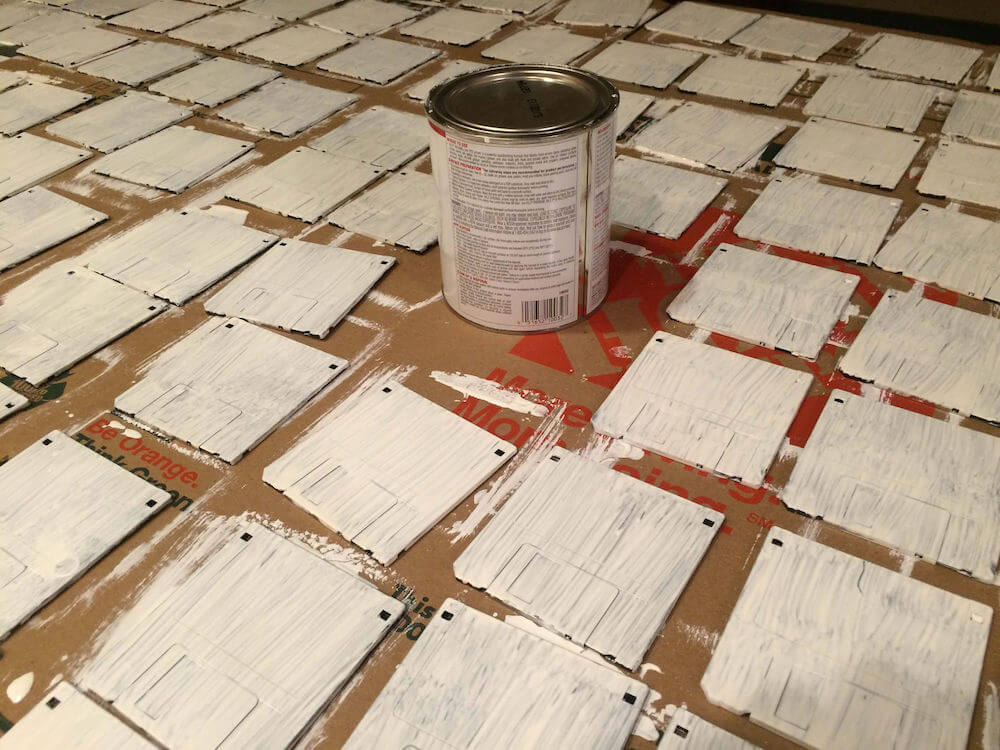
To start, we painted 158 disks in cheap white primer using a brush. The remaining 98 would stay black as they were going to form the background. After the primer dried, we spray painted 24 of them white and 8 blue — these then made up the eyes.
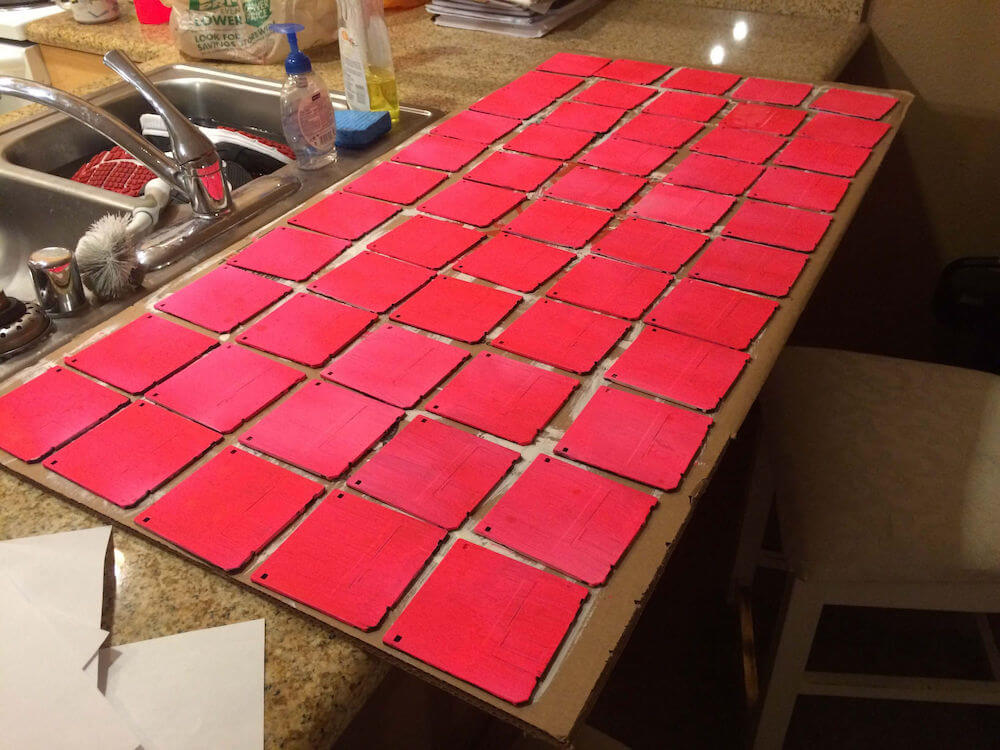
126 of the now white disks needed to become our “feature” color, in this case fluorescent pink. These needed a total of 4 coats of fluorescent pink spray paint and getting them done took a lot of time with limited drying space in an apartment (it also taught me not to attempt a lot of spray painting in an apartment even with the doors and windows open and the fans on).
The spray painting phase took a number of sessions over a few days, during which we also sprayed the 98 disks that we didn’t coat in white primer in black so that the silver shutters didn’t stand out. The black, white and blue disks took 2 coats of paint which made them much faster to get right than the pink ones which required 4 coats in the end.
During this time, every space in the kitchen was in use storing drying floppy disks or dry ones awaiting another coat of paint.

Once all the painting was complete, our attention turned to building a frame to attach each disk to. In order to keep weight down, we decided to use peg board from Home Depot, and took advantage of their excellent free in store cutting service to get sheets of peg board cut to size.
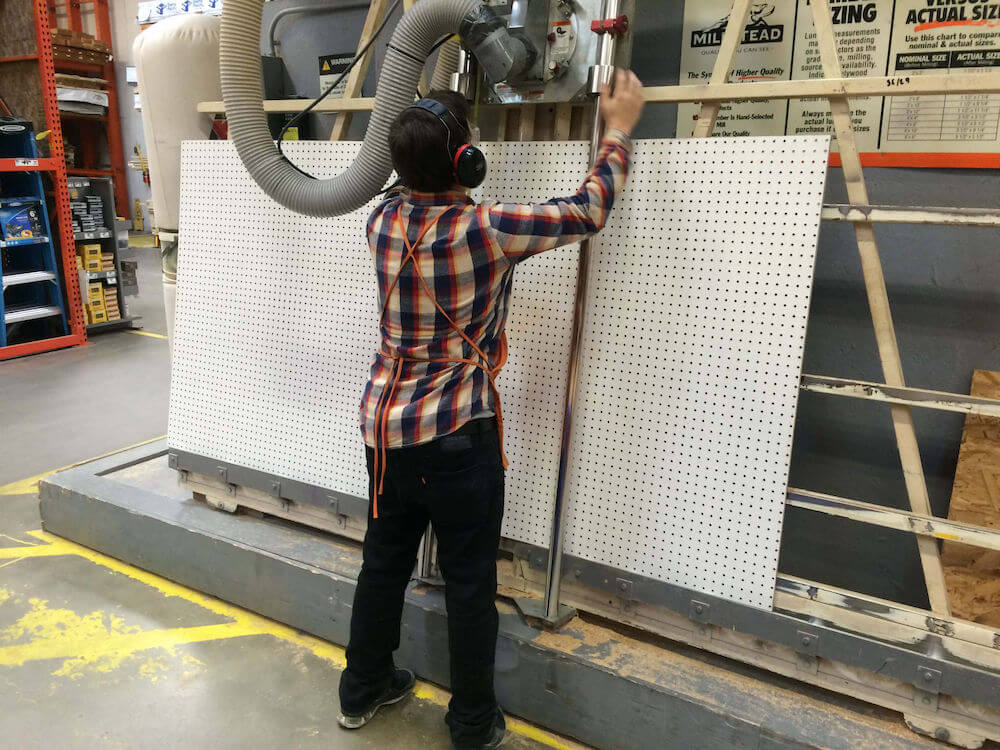
Due to the size of the mosaic (around 57” x 59”) we had to use two pieces of peg board held together with some wooden beading and some of the off cuts of the peg board sheet for extra strength to make our “frame”.
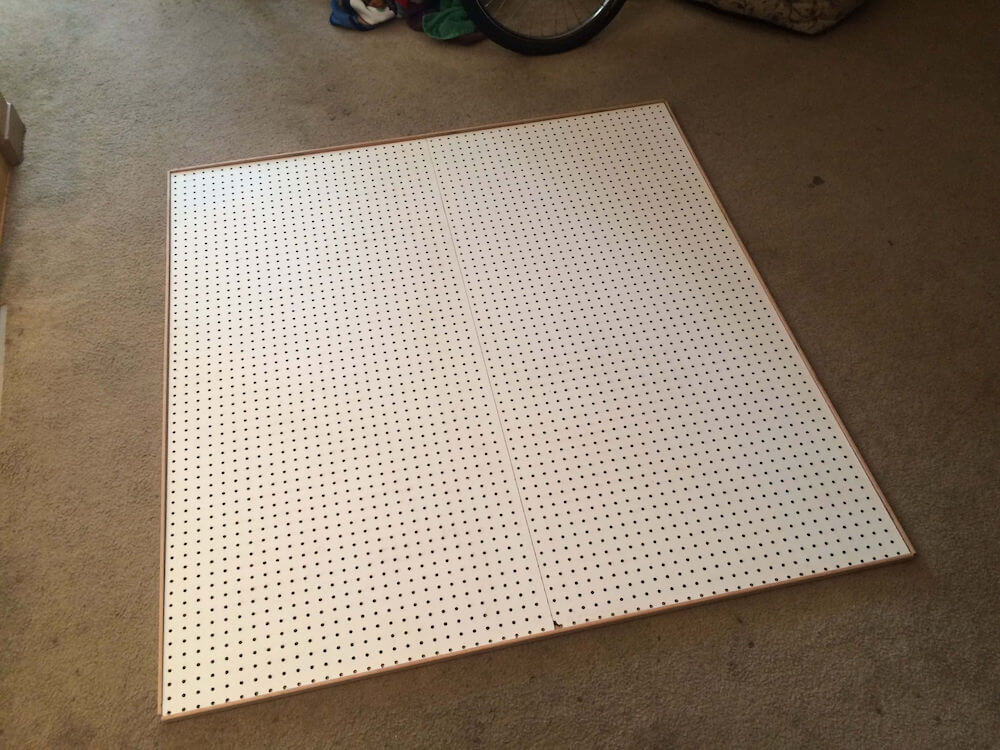
Screwing the beading edges to the frame on 3 sides and leaving the bottom open allowed for the small amount of overhang that we had calculated would happen at the bottom due to the disks being rectangular not square.
Each disk was then individually attached to the frame using hot melt glue.
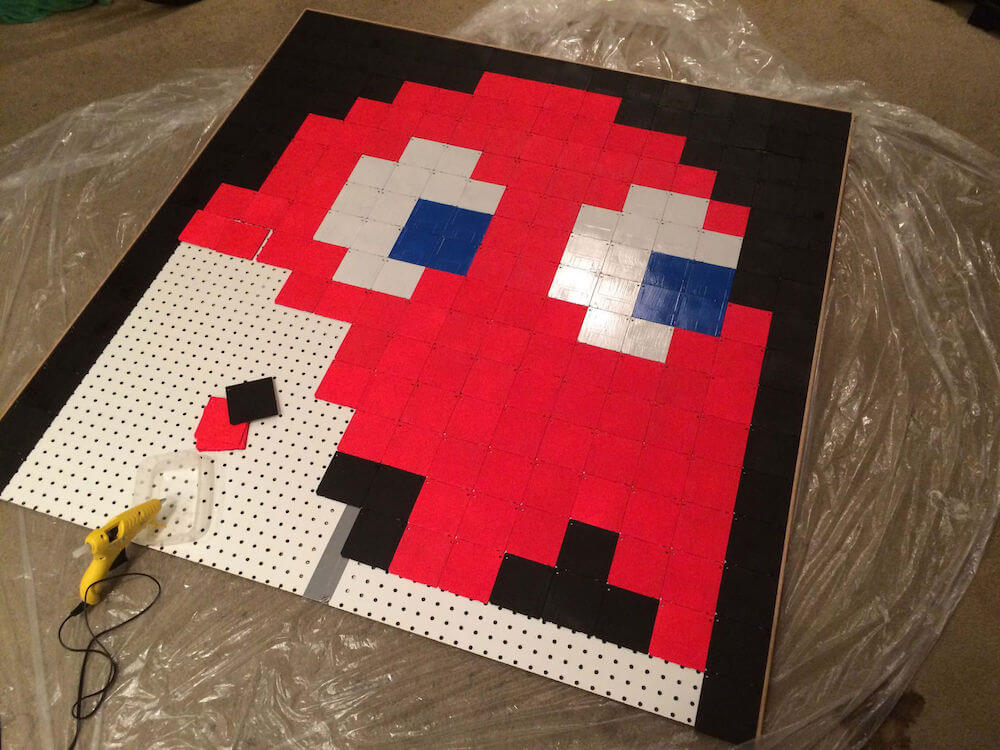
Whilst using a LOT of hot melt glue (we found Michael’s sells the glue sticks in bulk) to attach each disk to the frame, it became obvious that the spray paint was adding a little to each dimension of each disk. This meant that we had to do some (very tedious) sanding to get a row of 16 disks to fit inside the frame without issue. The same happened vertically, with each disk being a little taller than anticipated which meant that unfortunately they overhang the peg board at the bottom now…
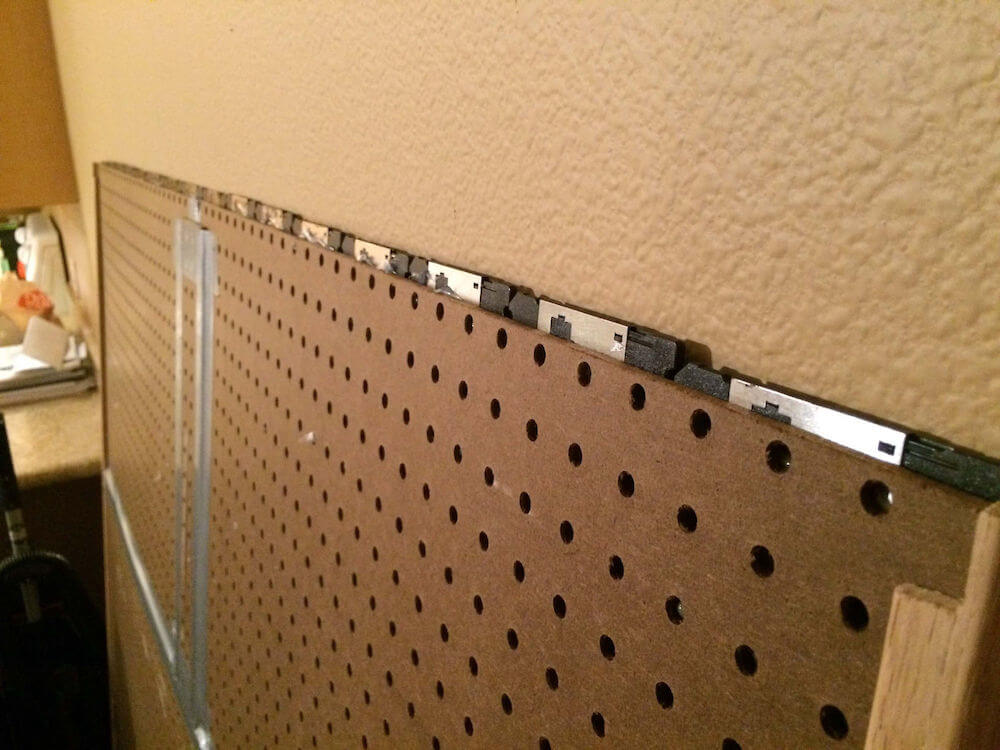
This will get fixed by using some wider beading as a bottom border, but is something we could improve on next time by getting the peg board frame cut a bit larger.
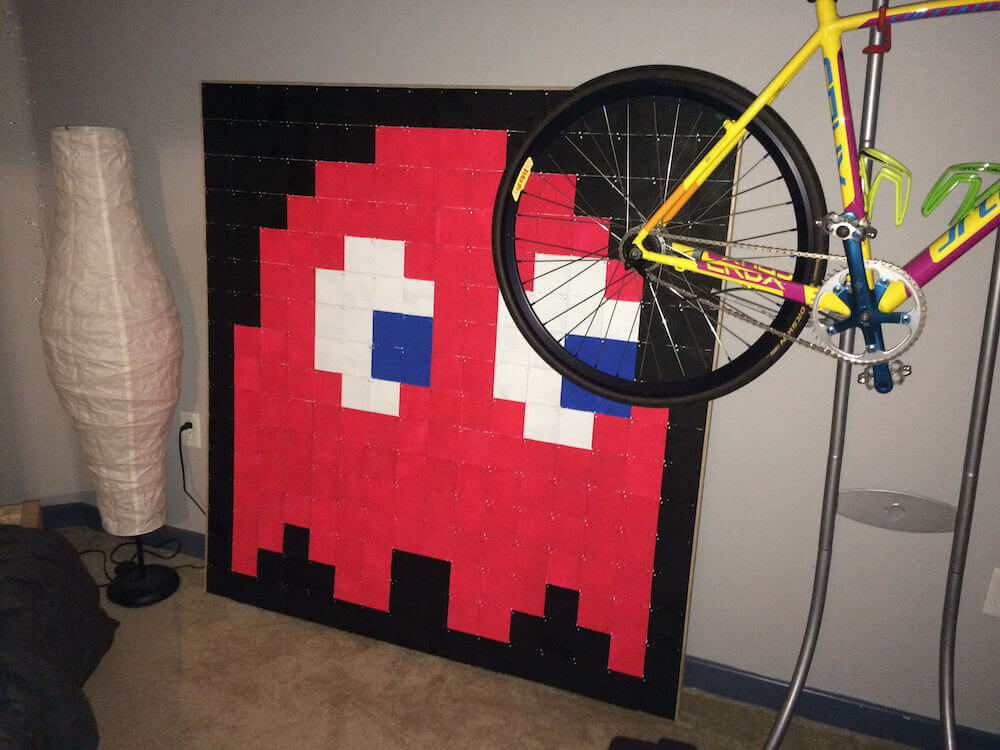
A Twitter conversation with a colleague led me to name the resulting mosaic “368.64”, being the total theoretical Megabytes of data that 256 x 1.44Mb floppy disks could hold.
The mosaic’s now done, I just need to fix up the bottom of the frame to work around the disks overhanging the peg board backing then figure out some way to mount it on the wall. For now, it’s standing on the floor in a temporary location until we hang it from the wall, or sell it to a collector :)
 Managing Cordova App Version and Build Numbers in CI Environments